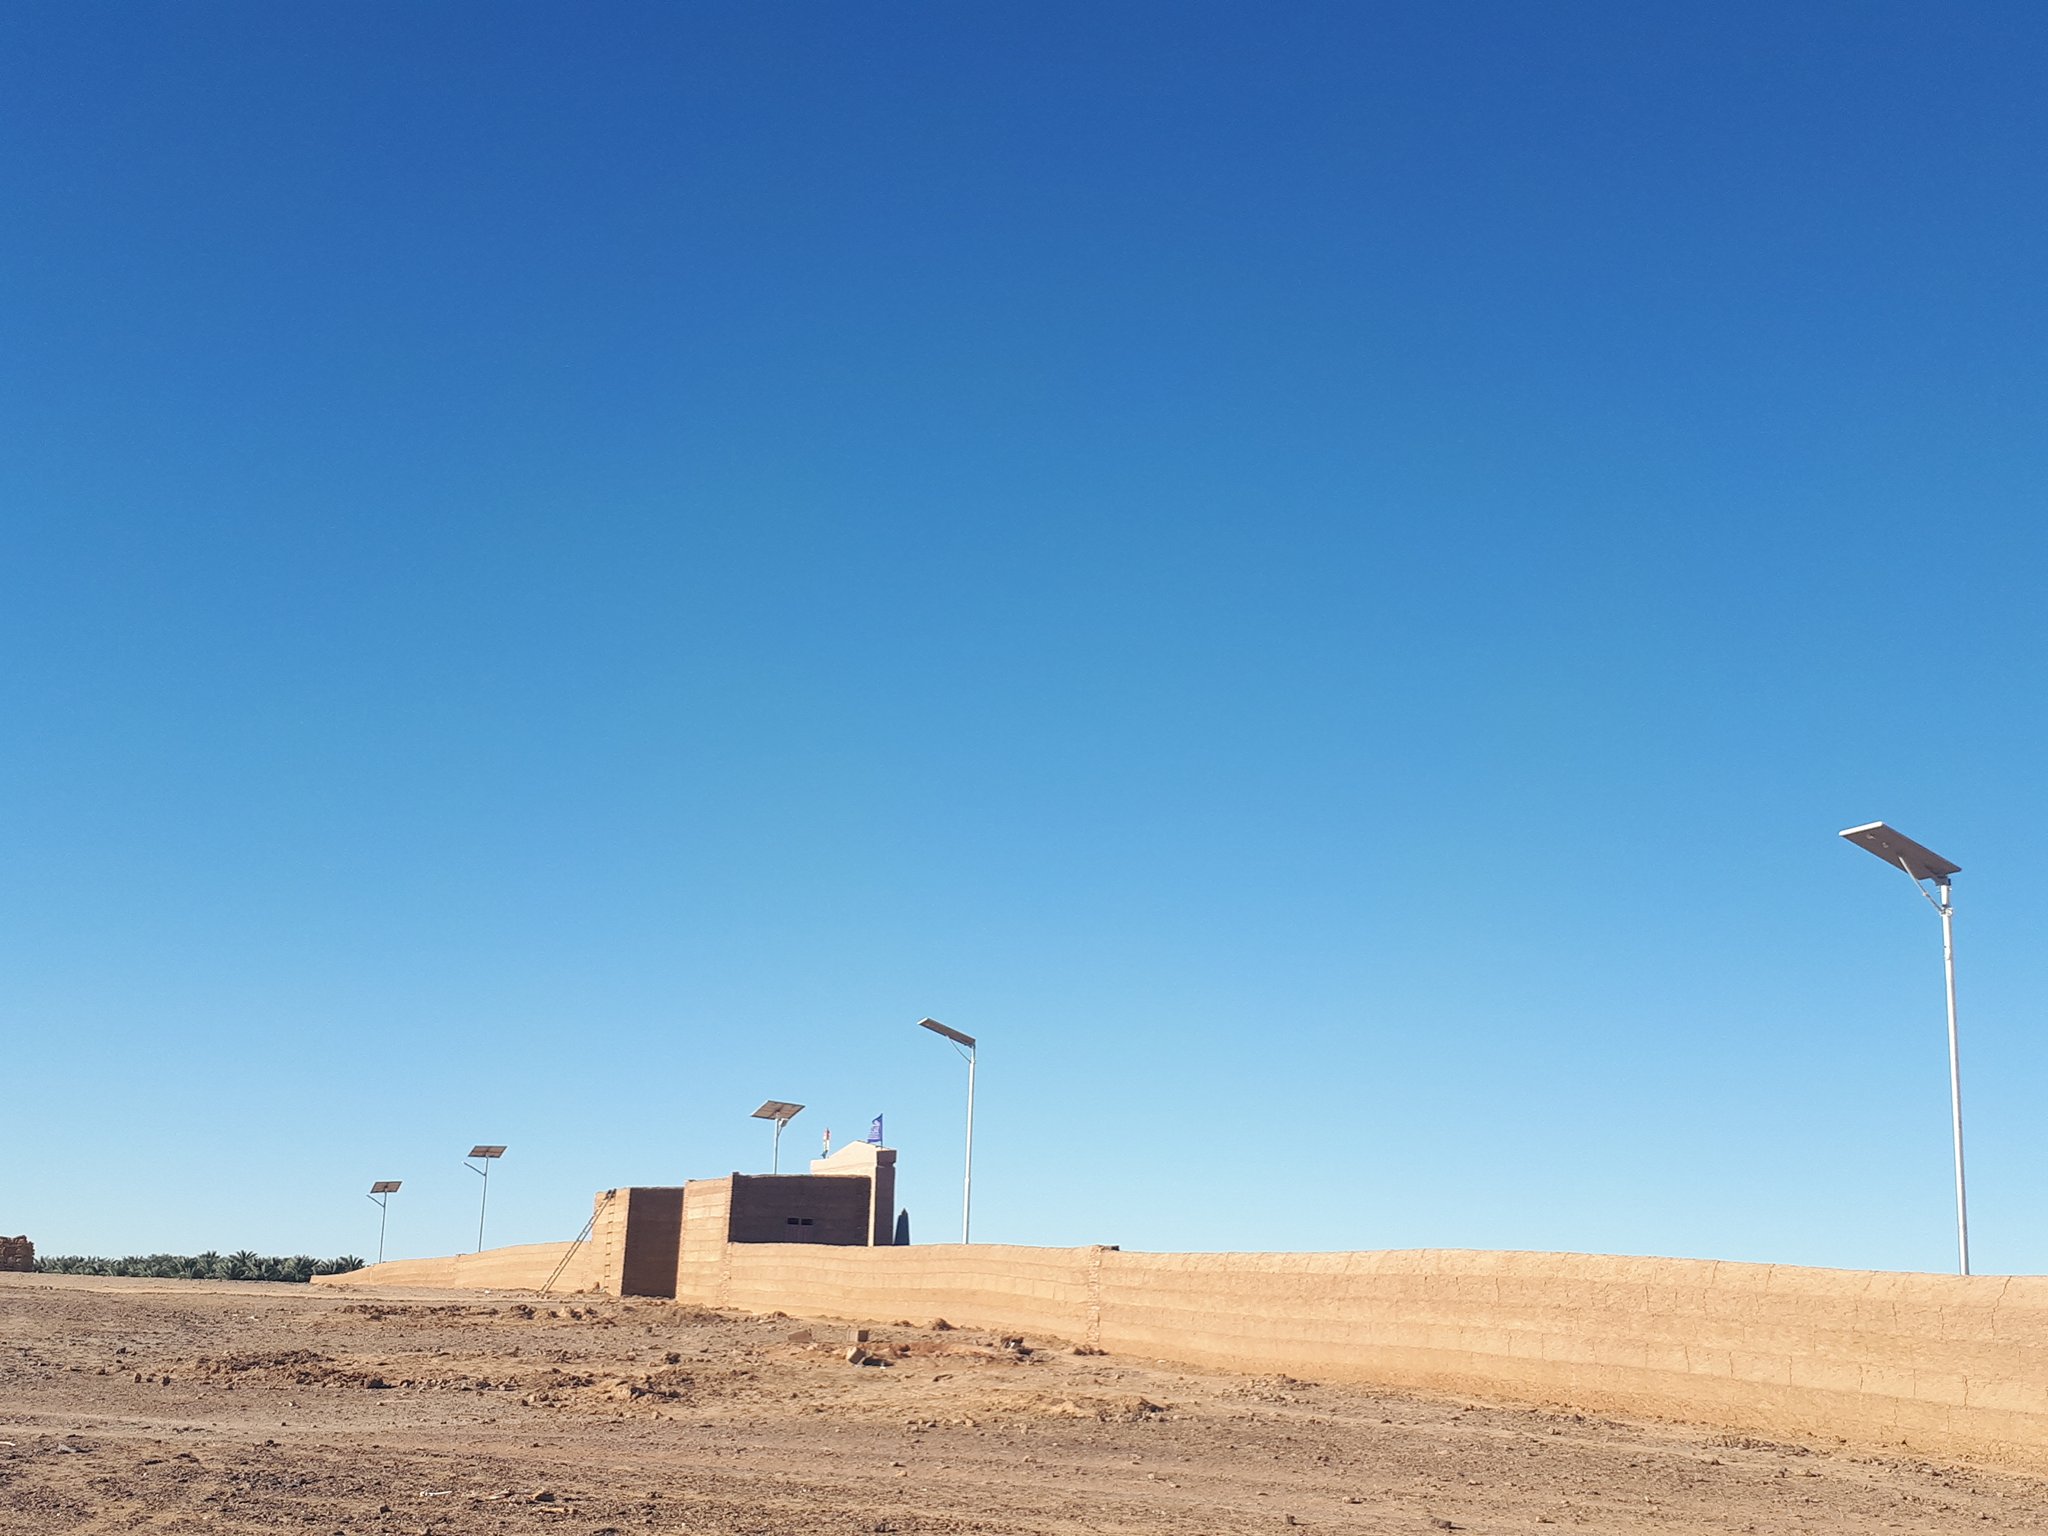
Fig. 10
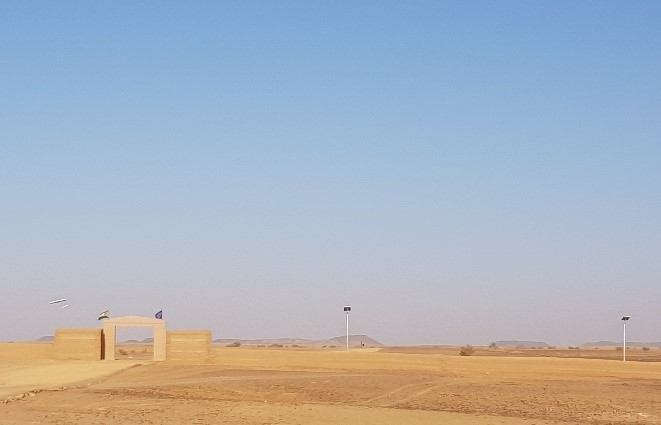
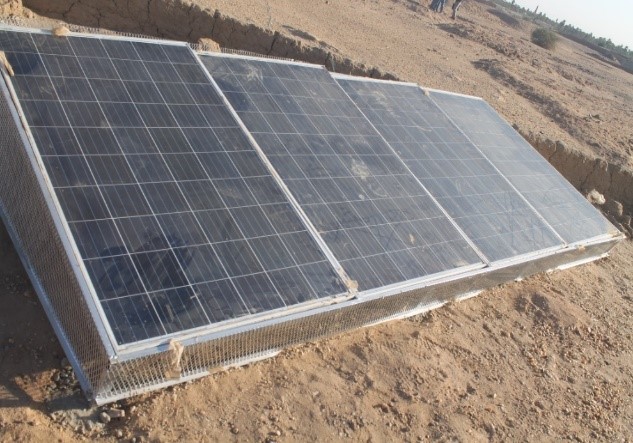
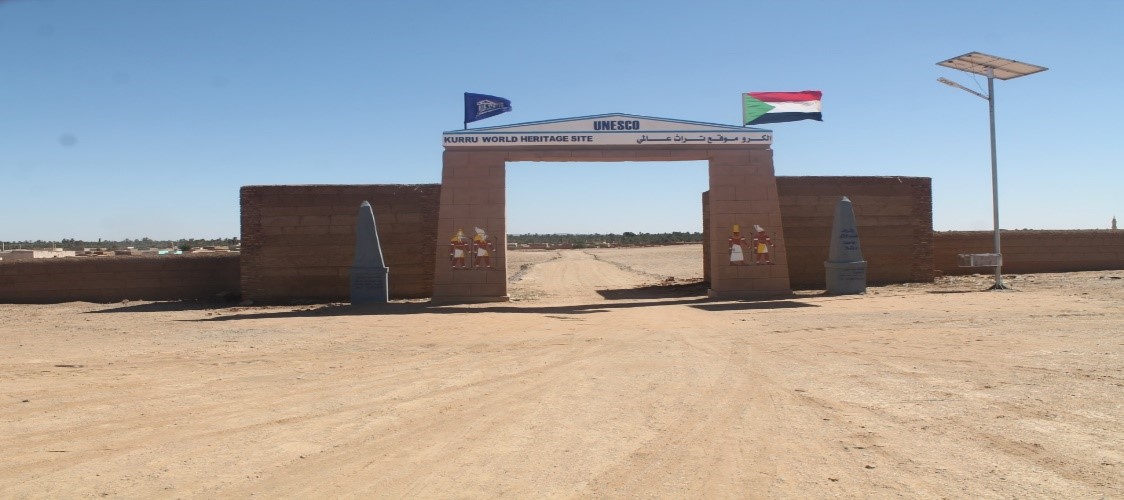
solar system
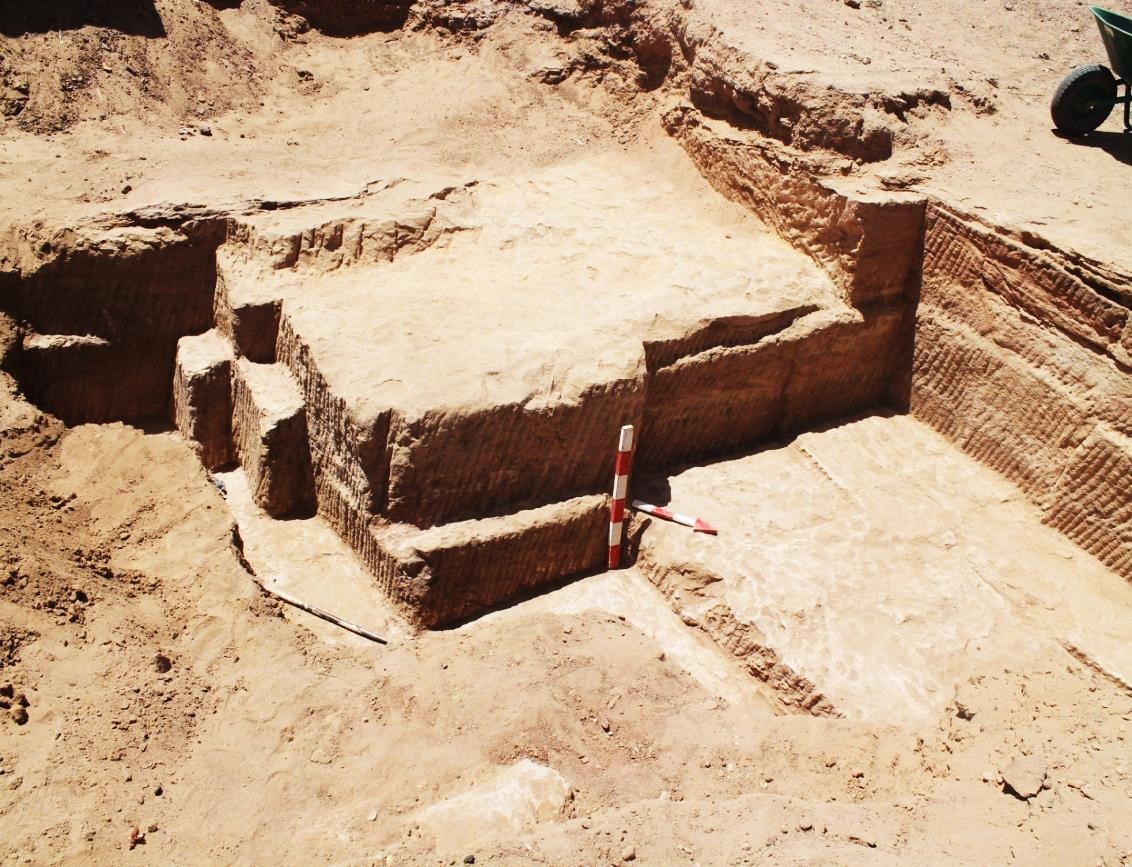
Fig. 11
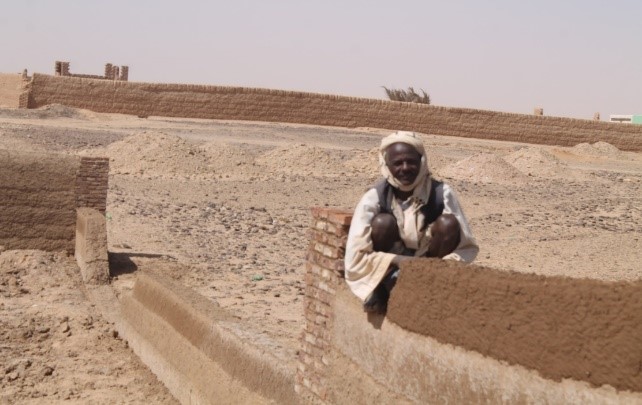
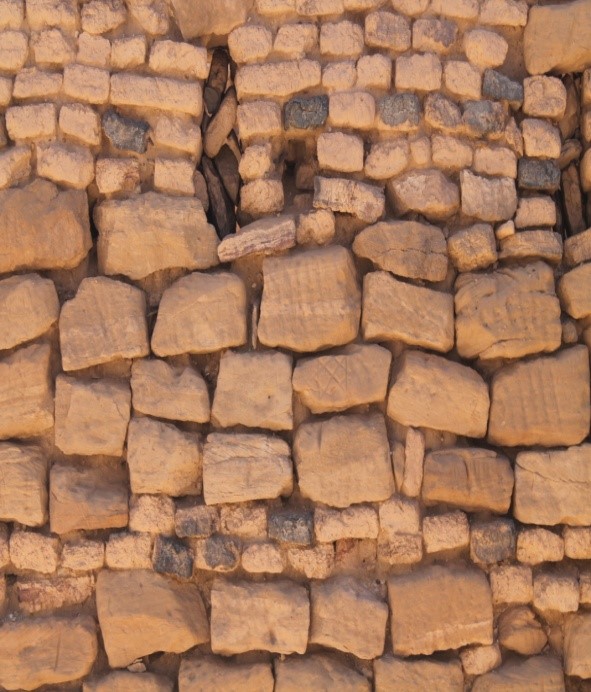
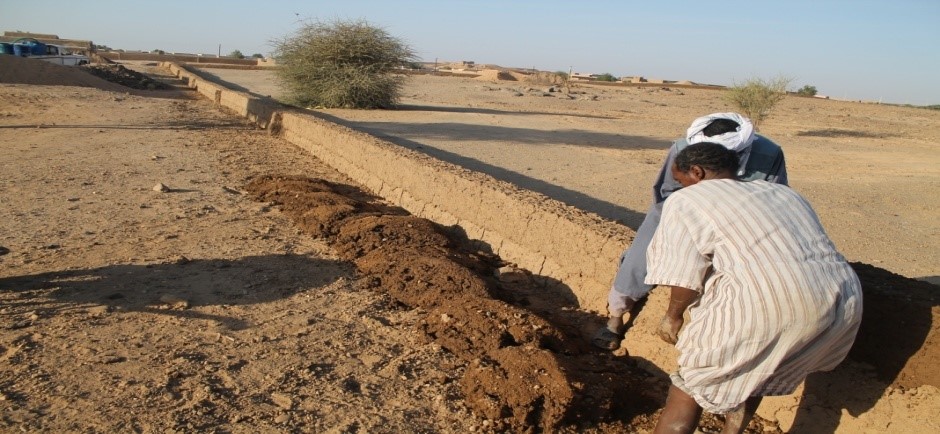
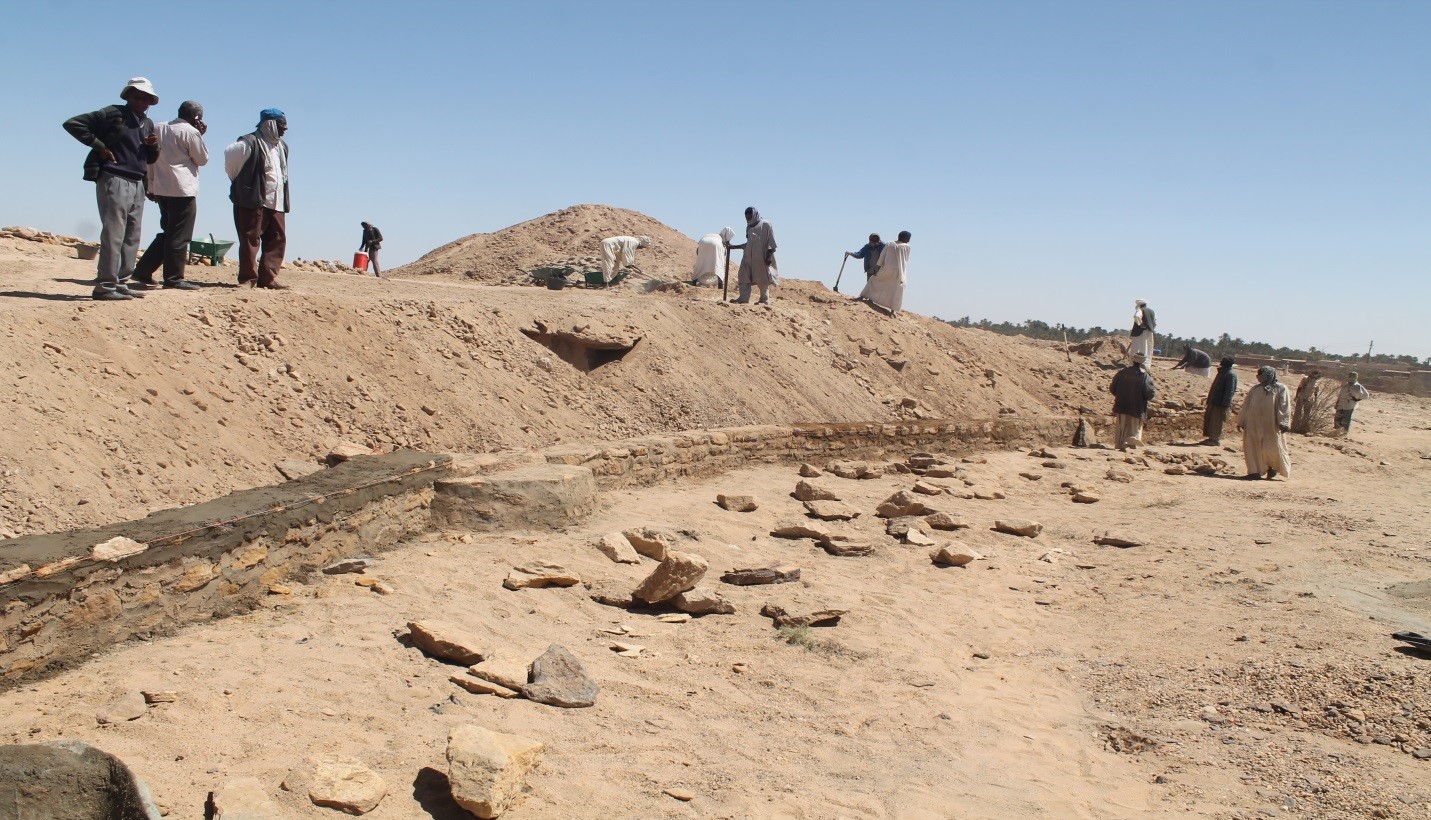
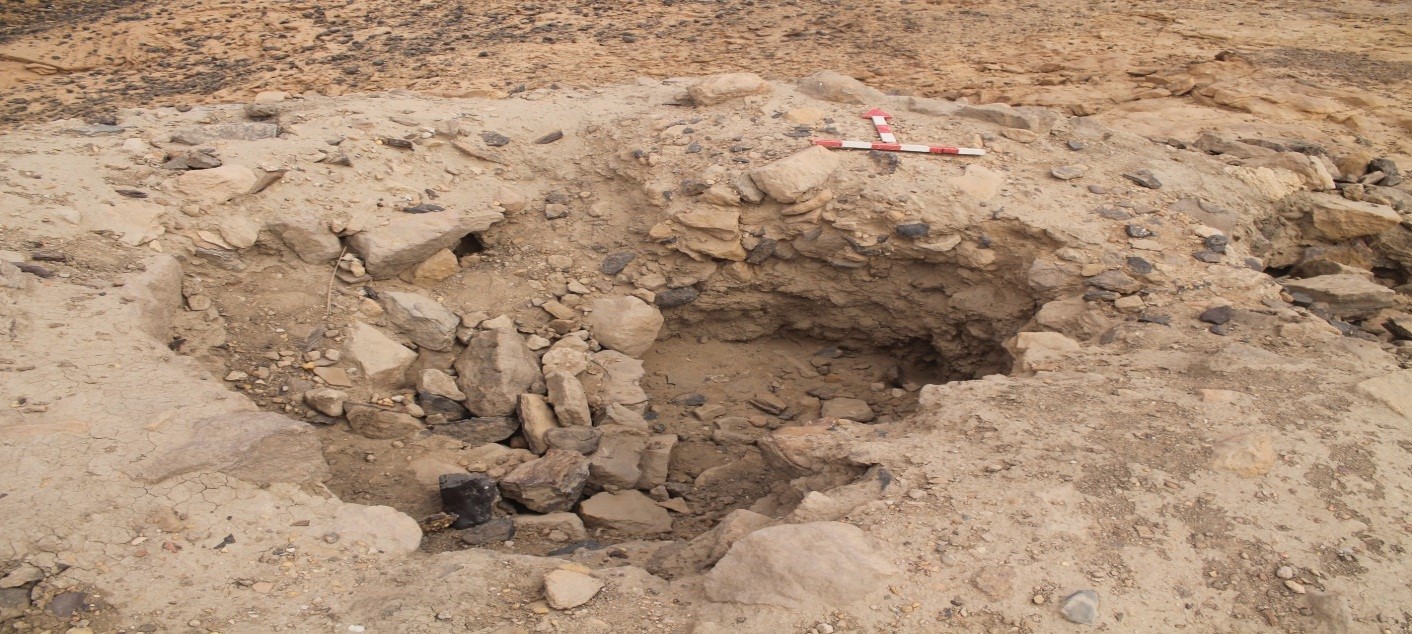
mud wall
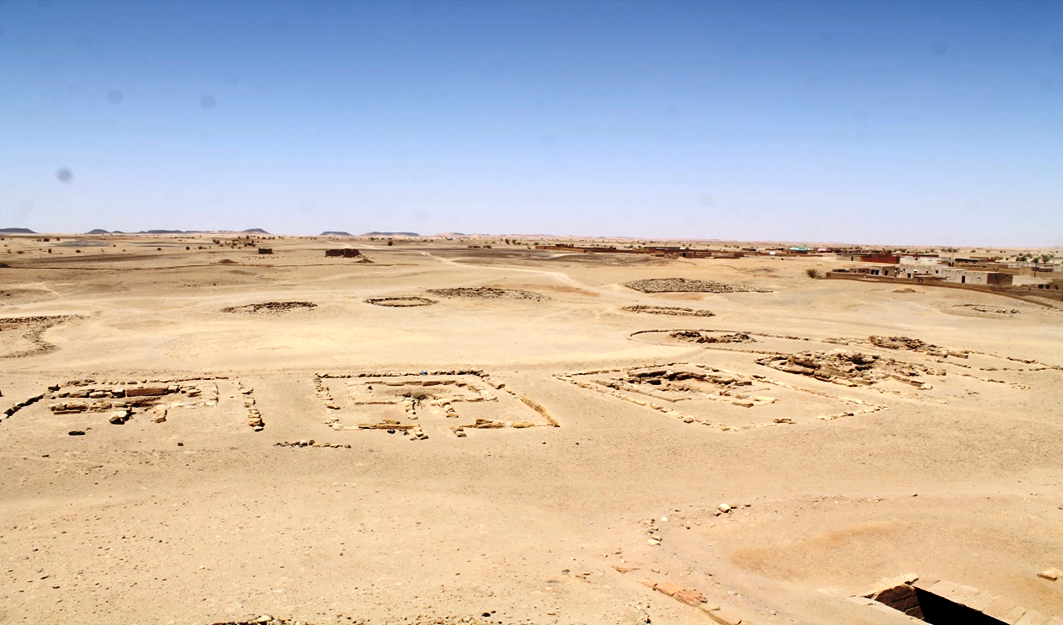
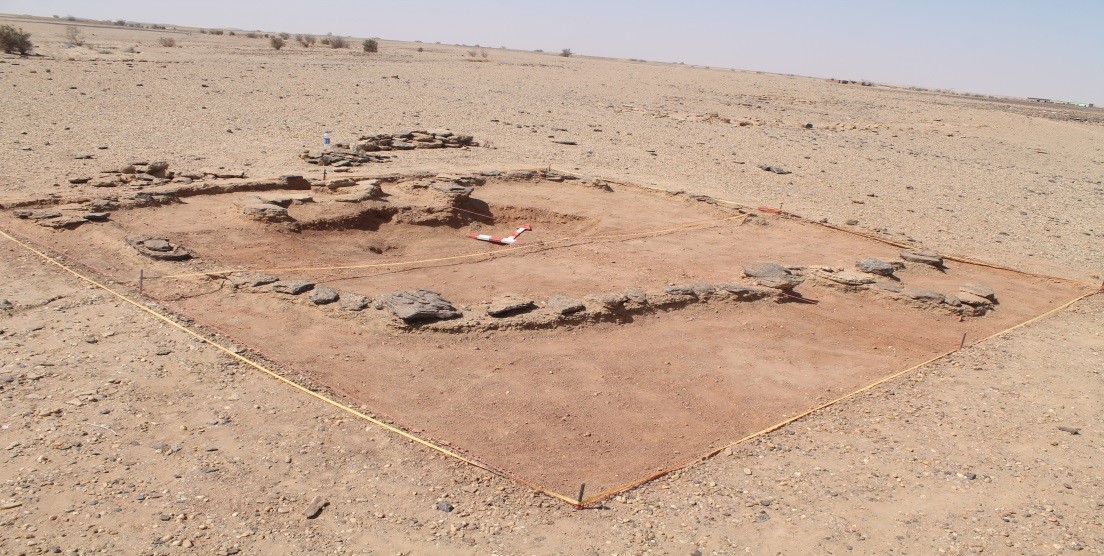
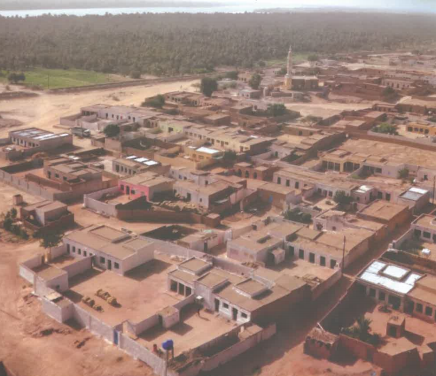
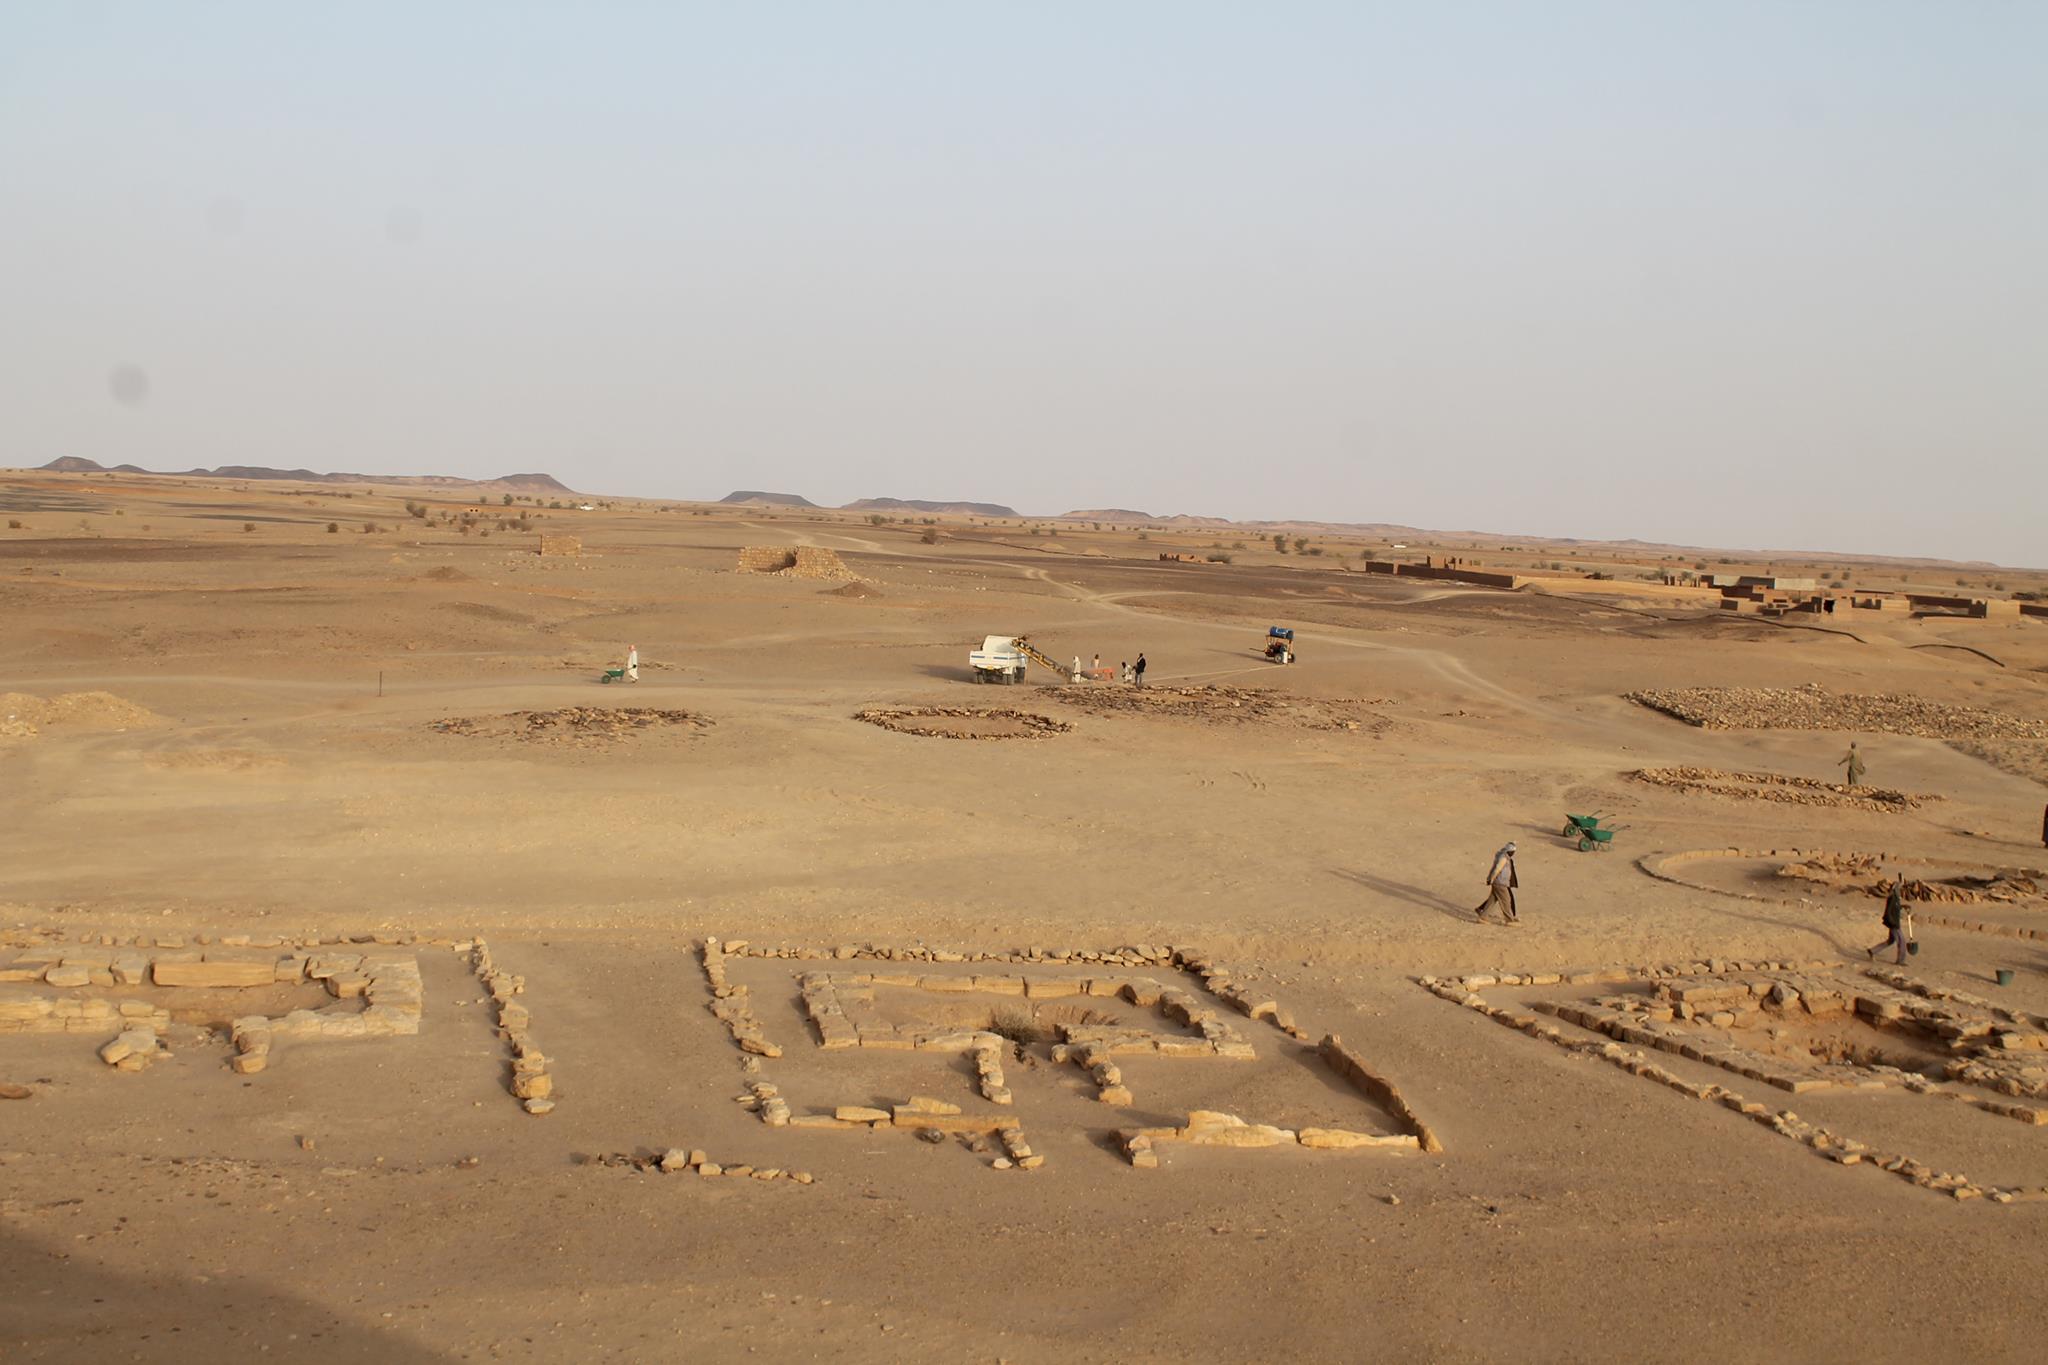
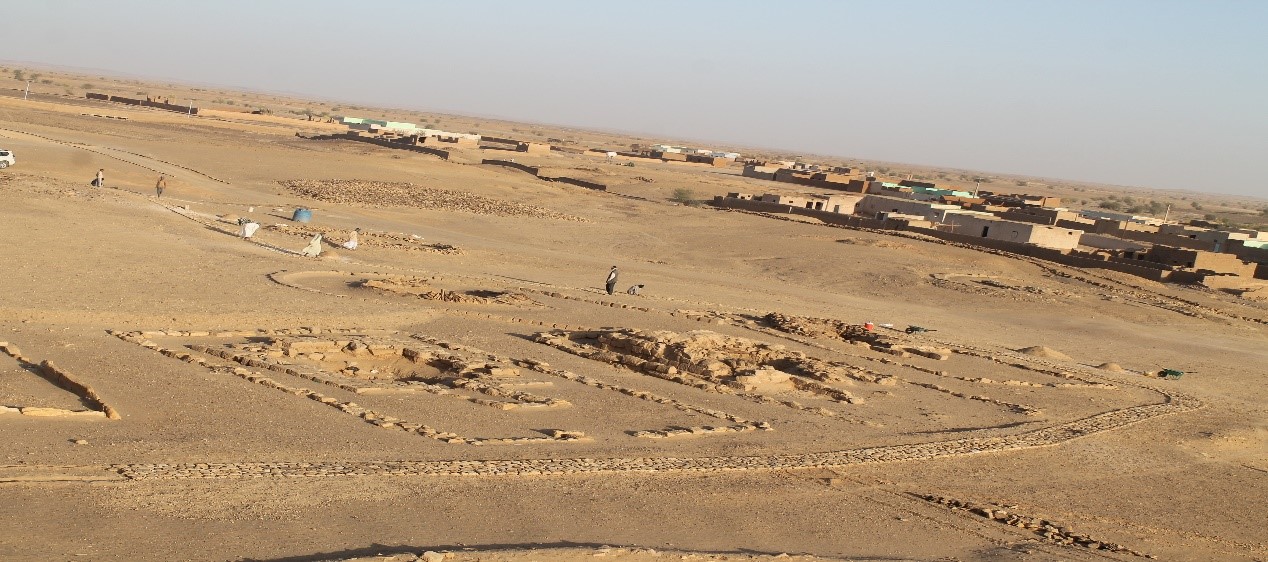
Aerial photo
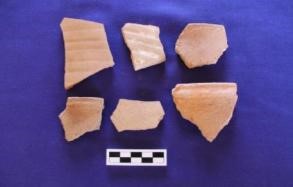
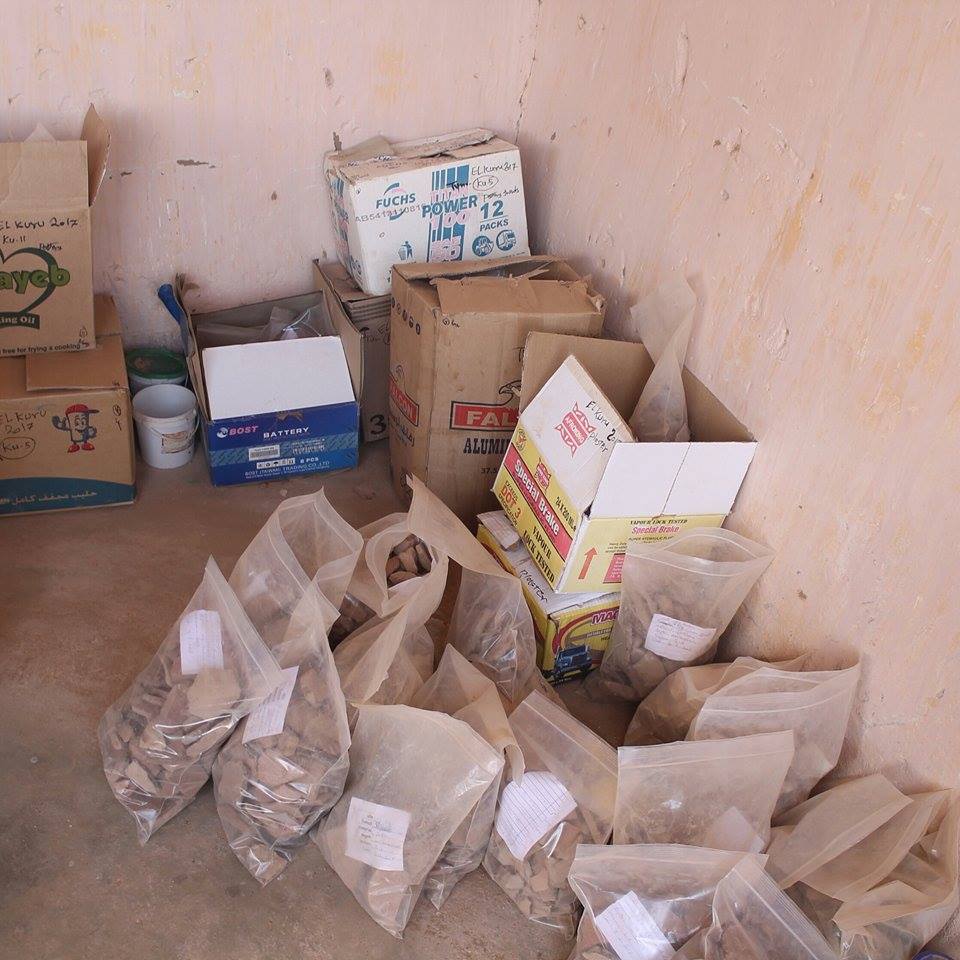
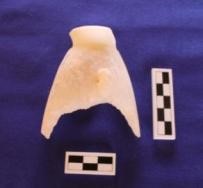
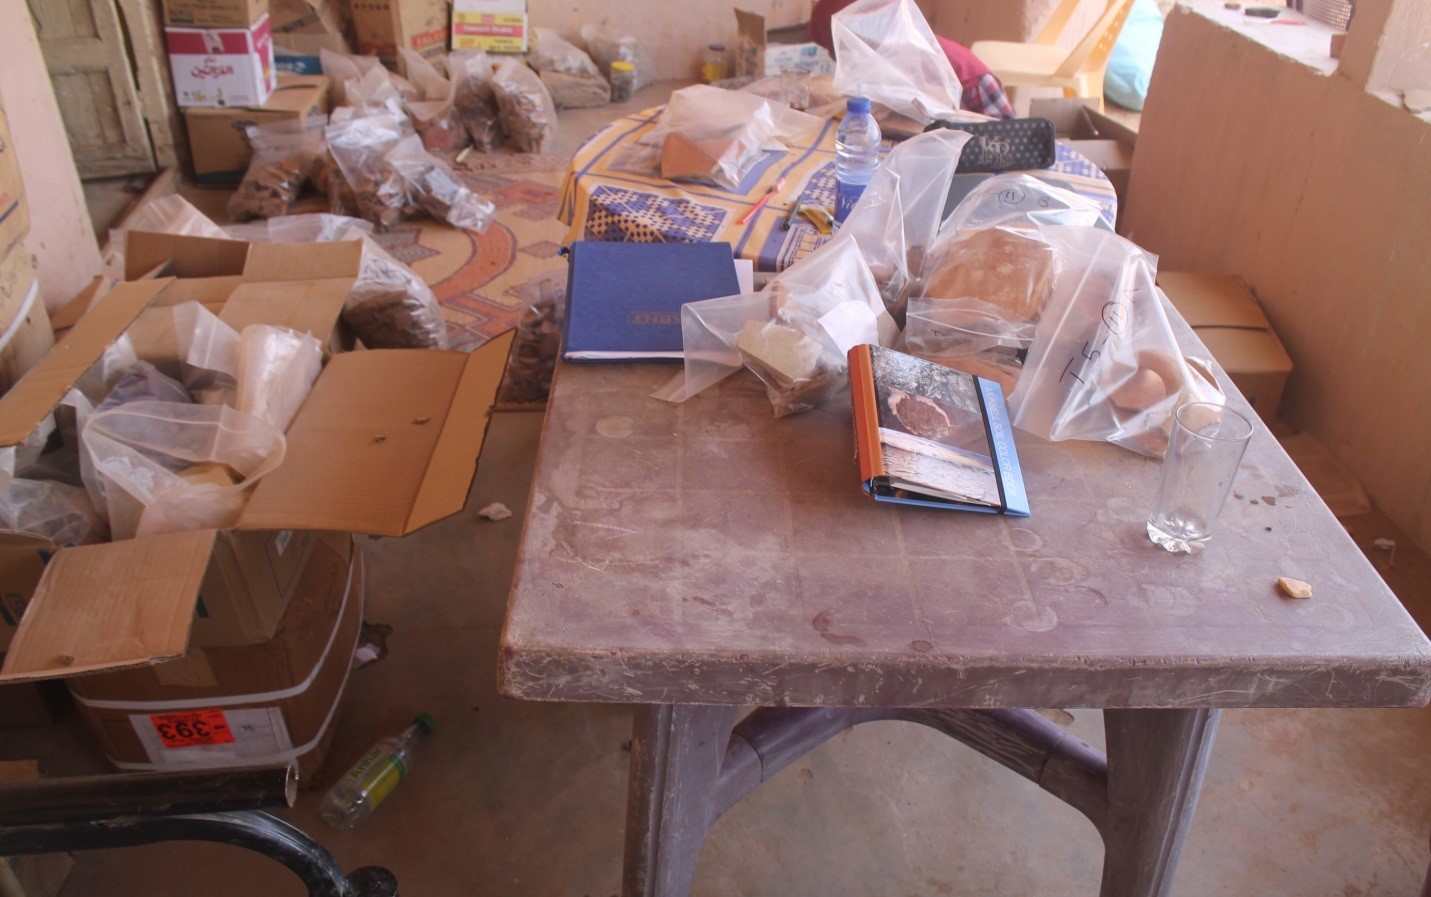
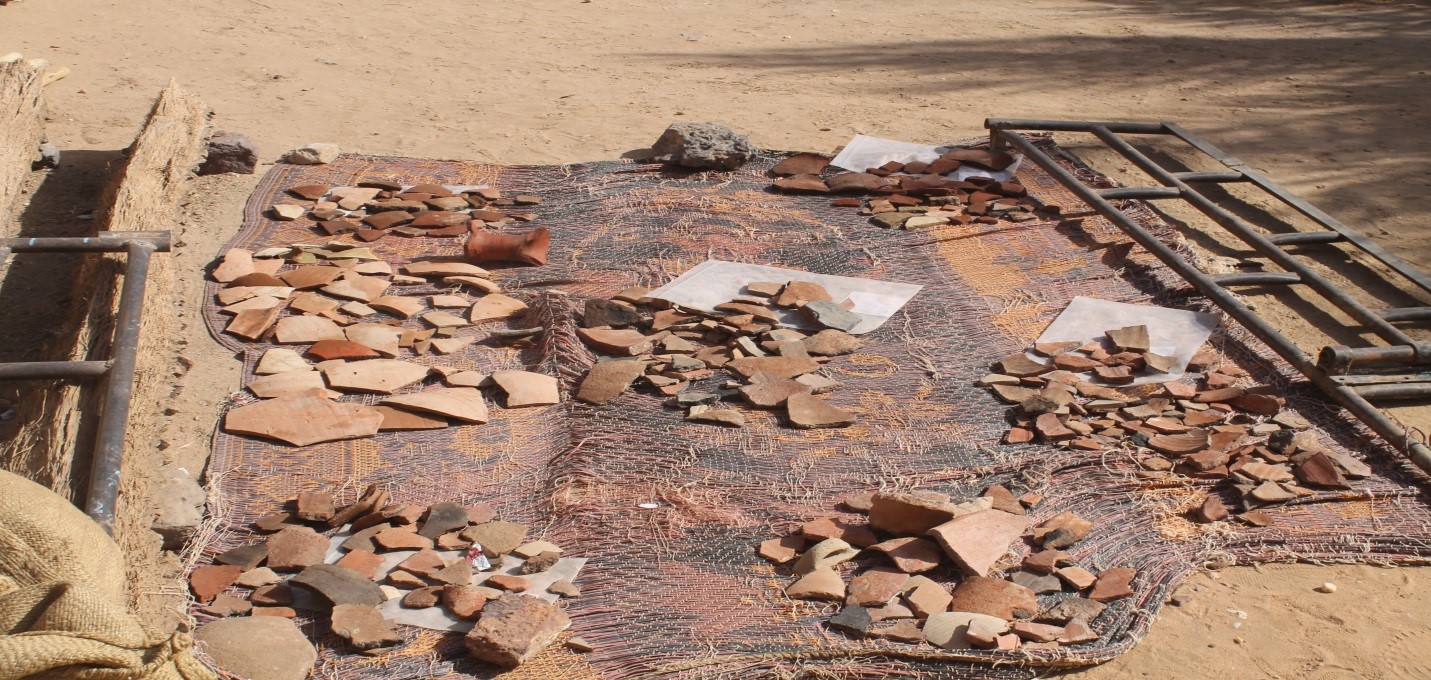
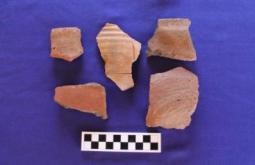
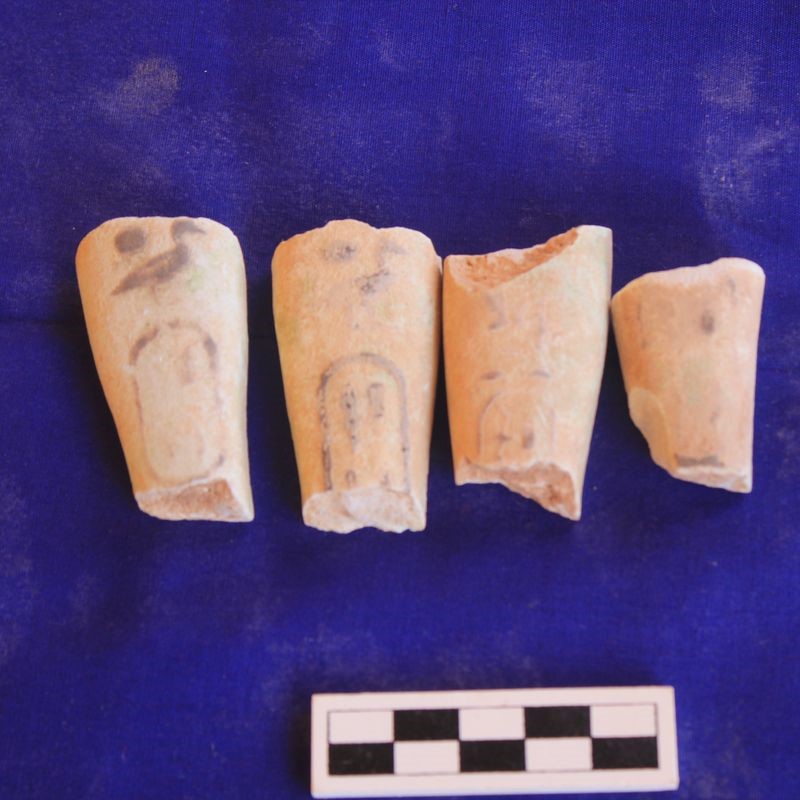
potsherds
Fig. 5
Fig. 6
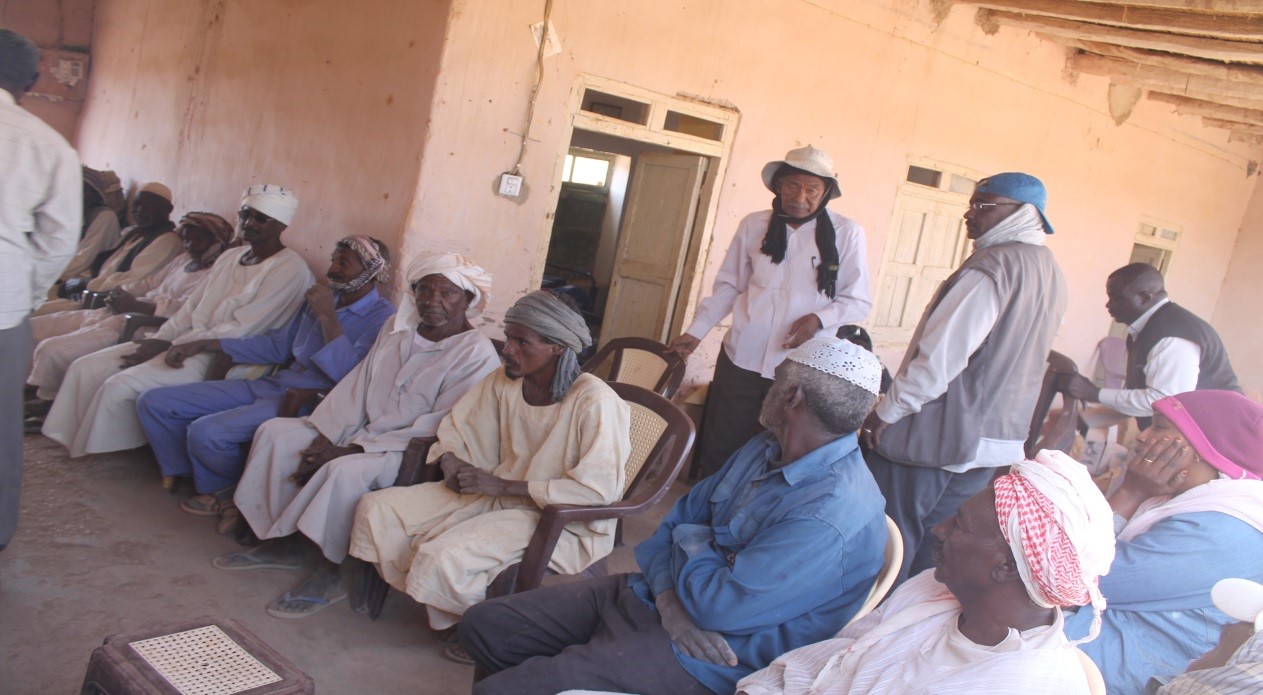
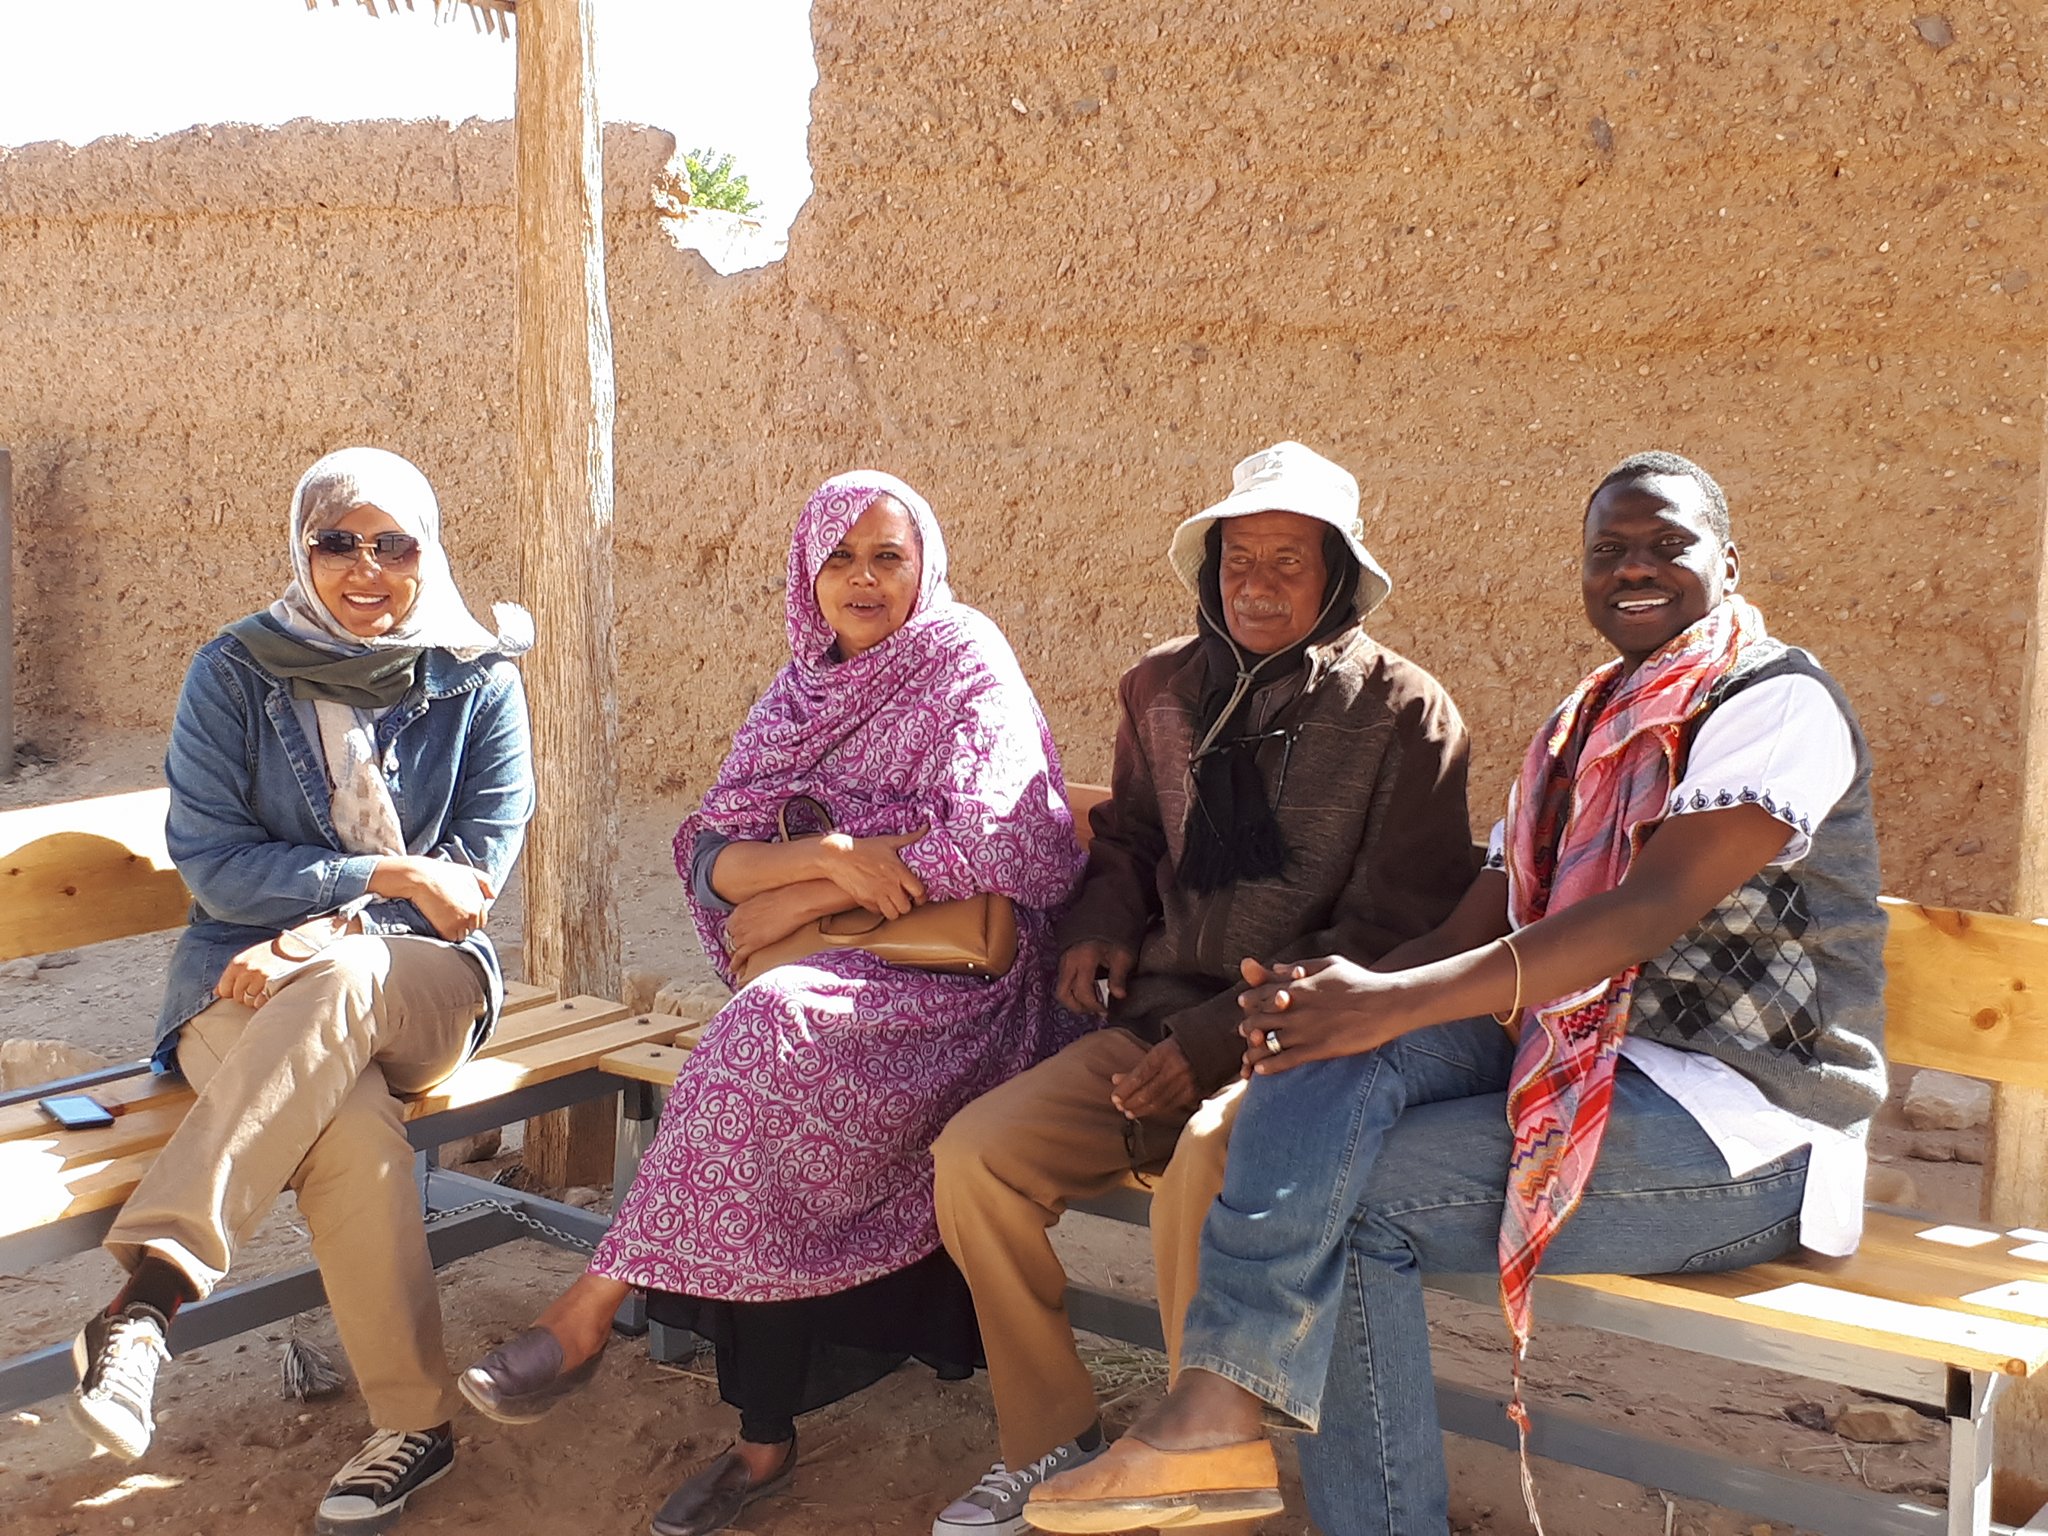
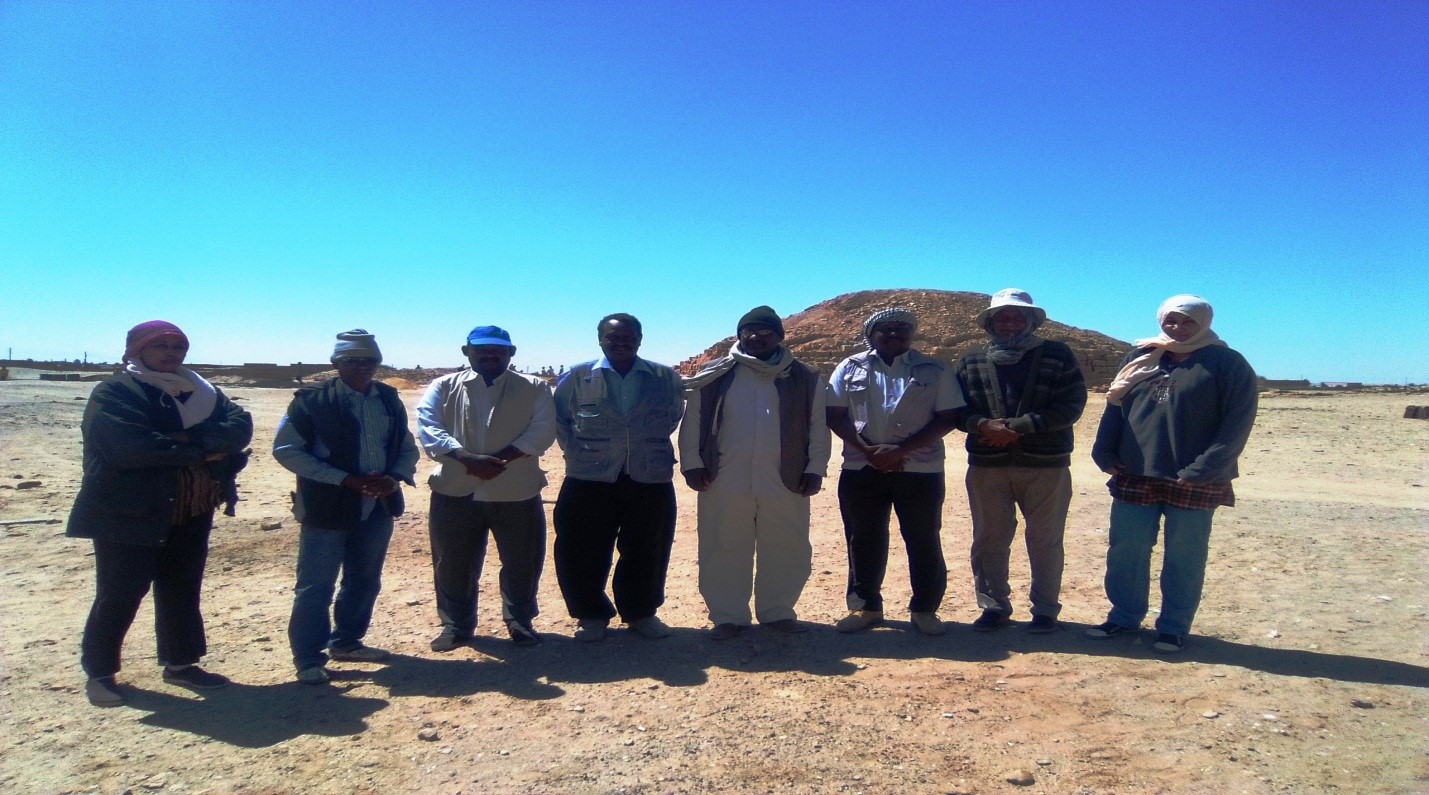
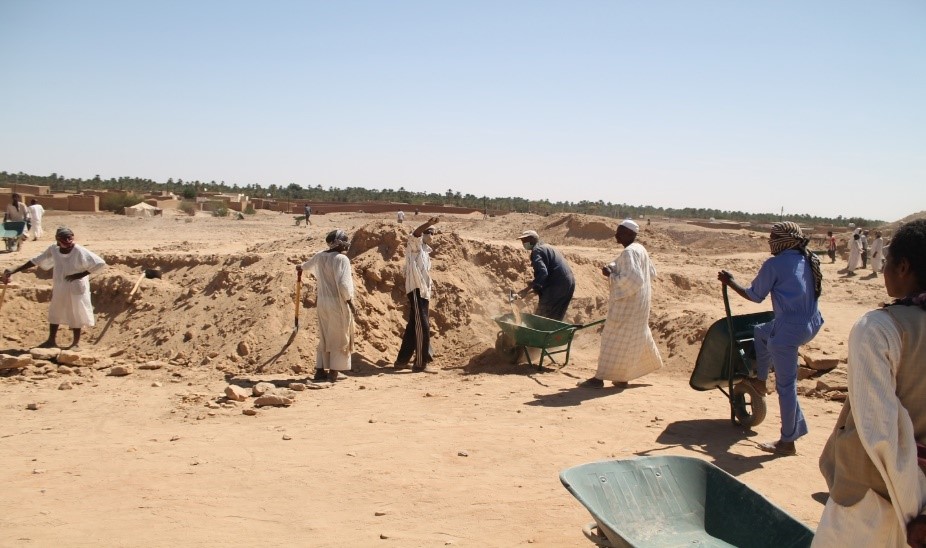
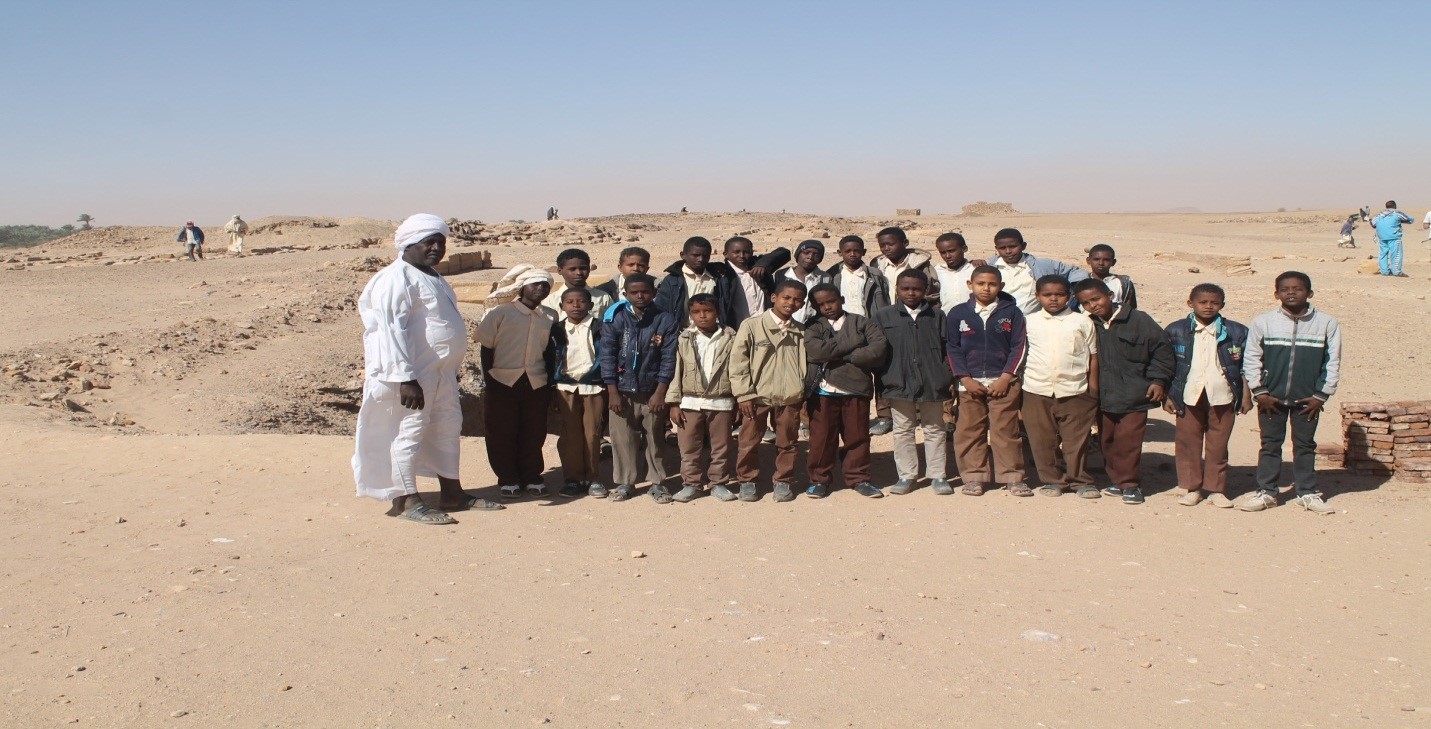
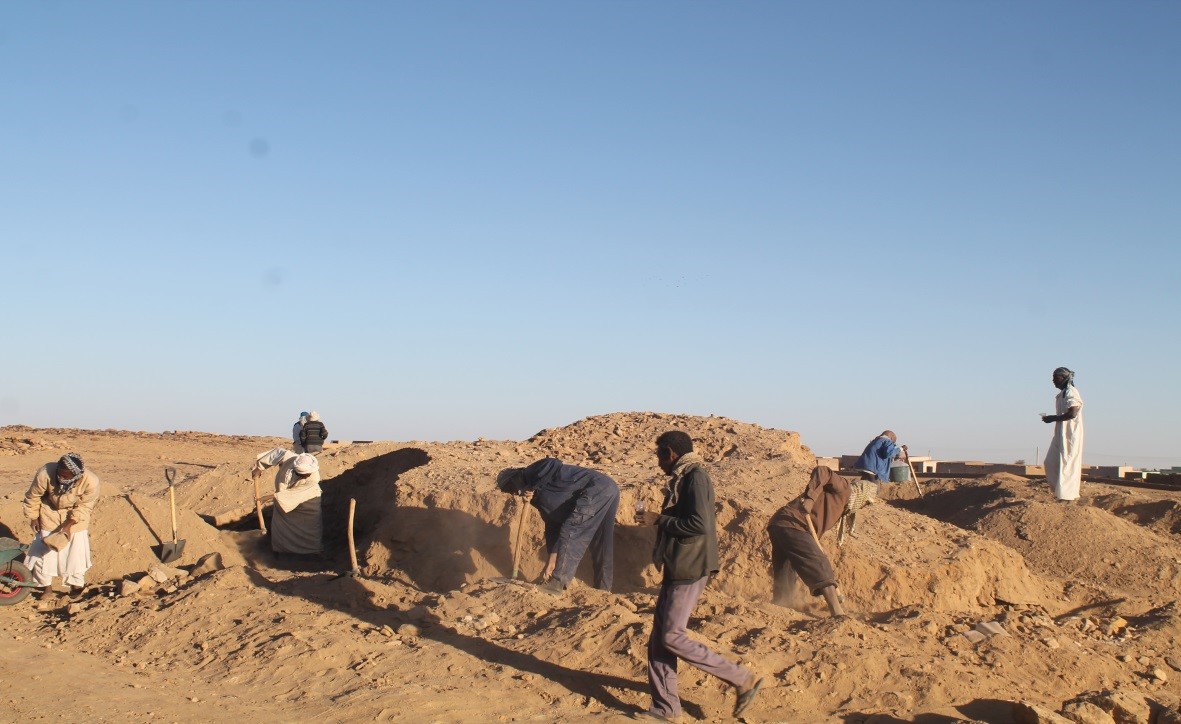
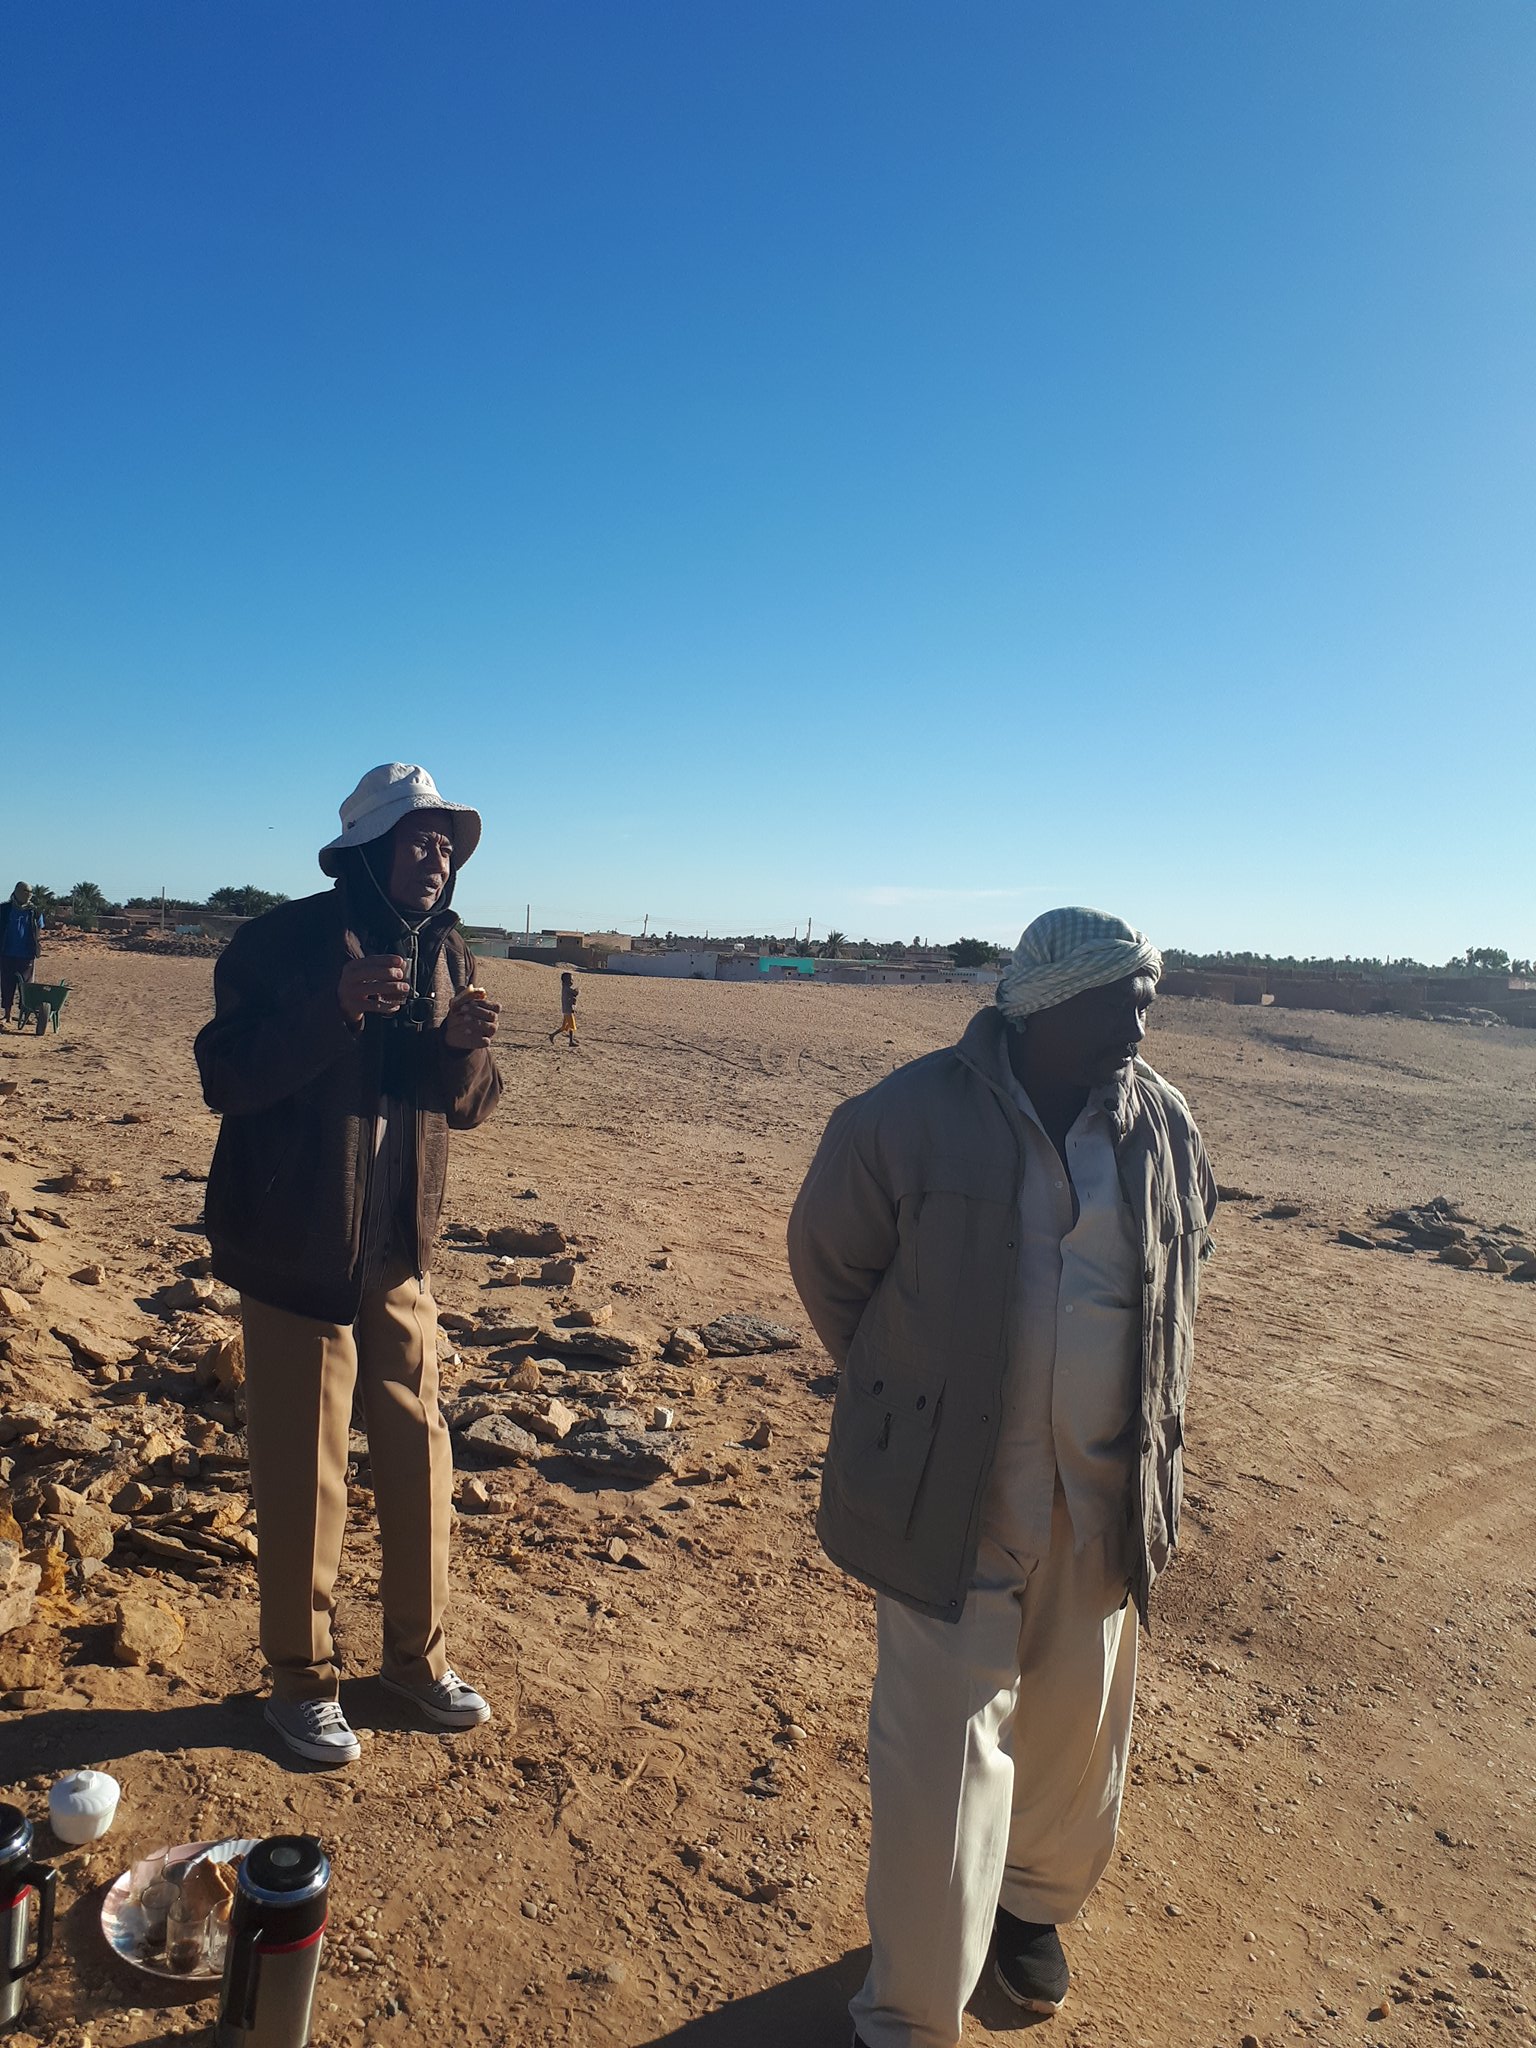
The mission team
Fig. 3
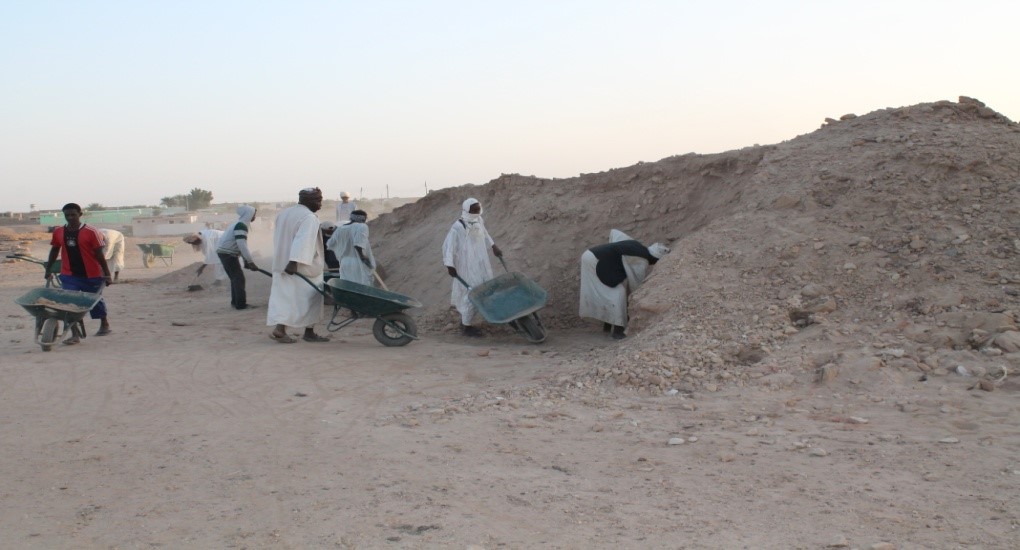
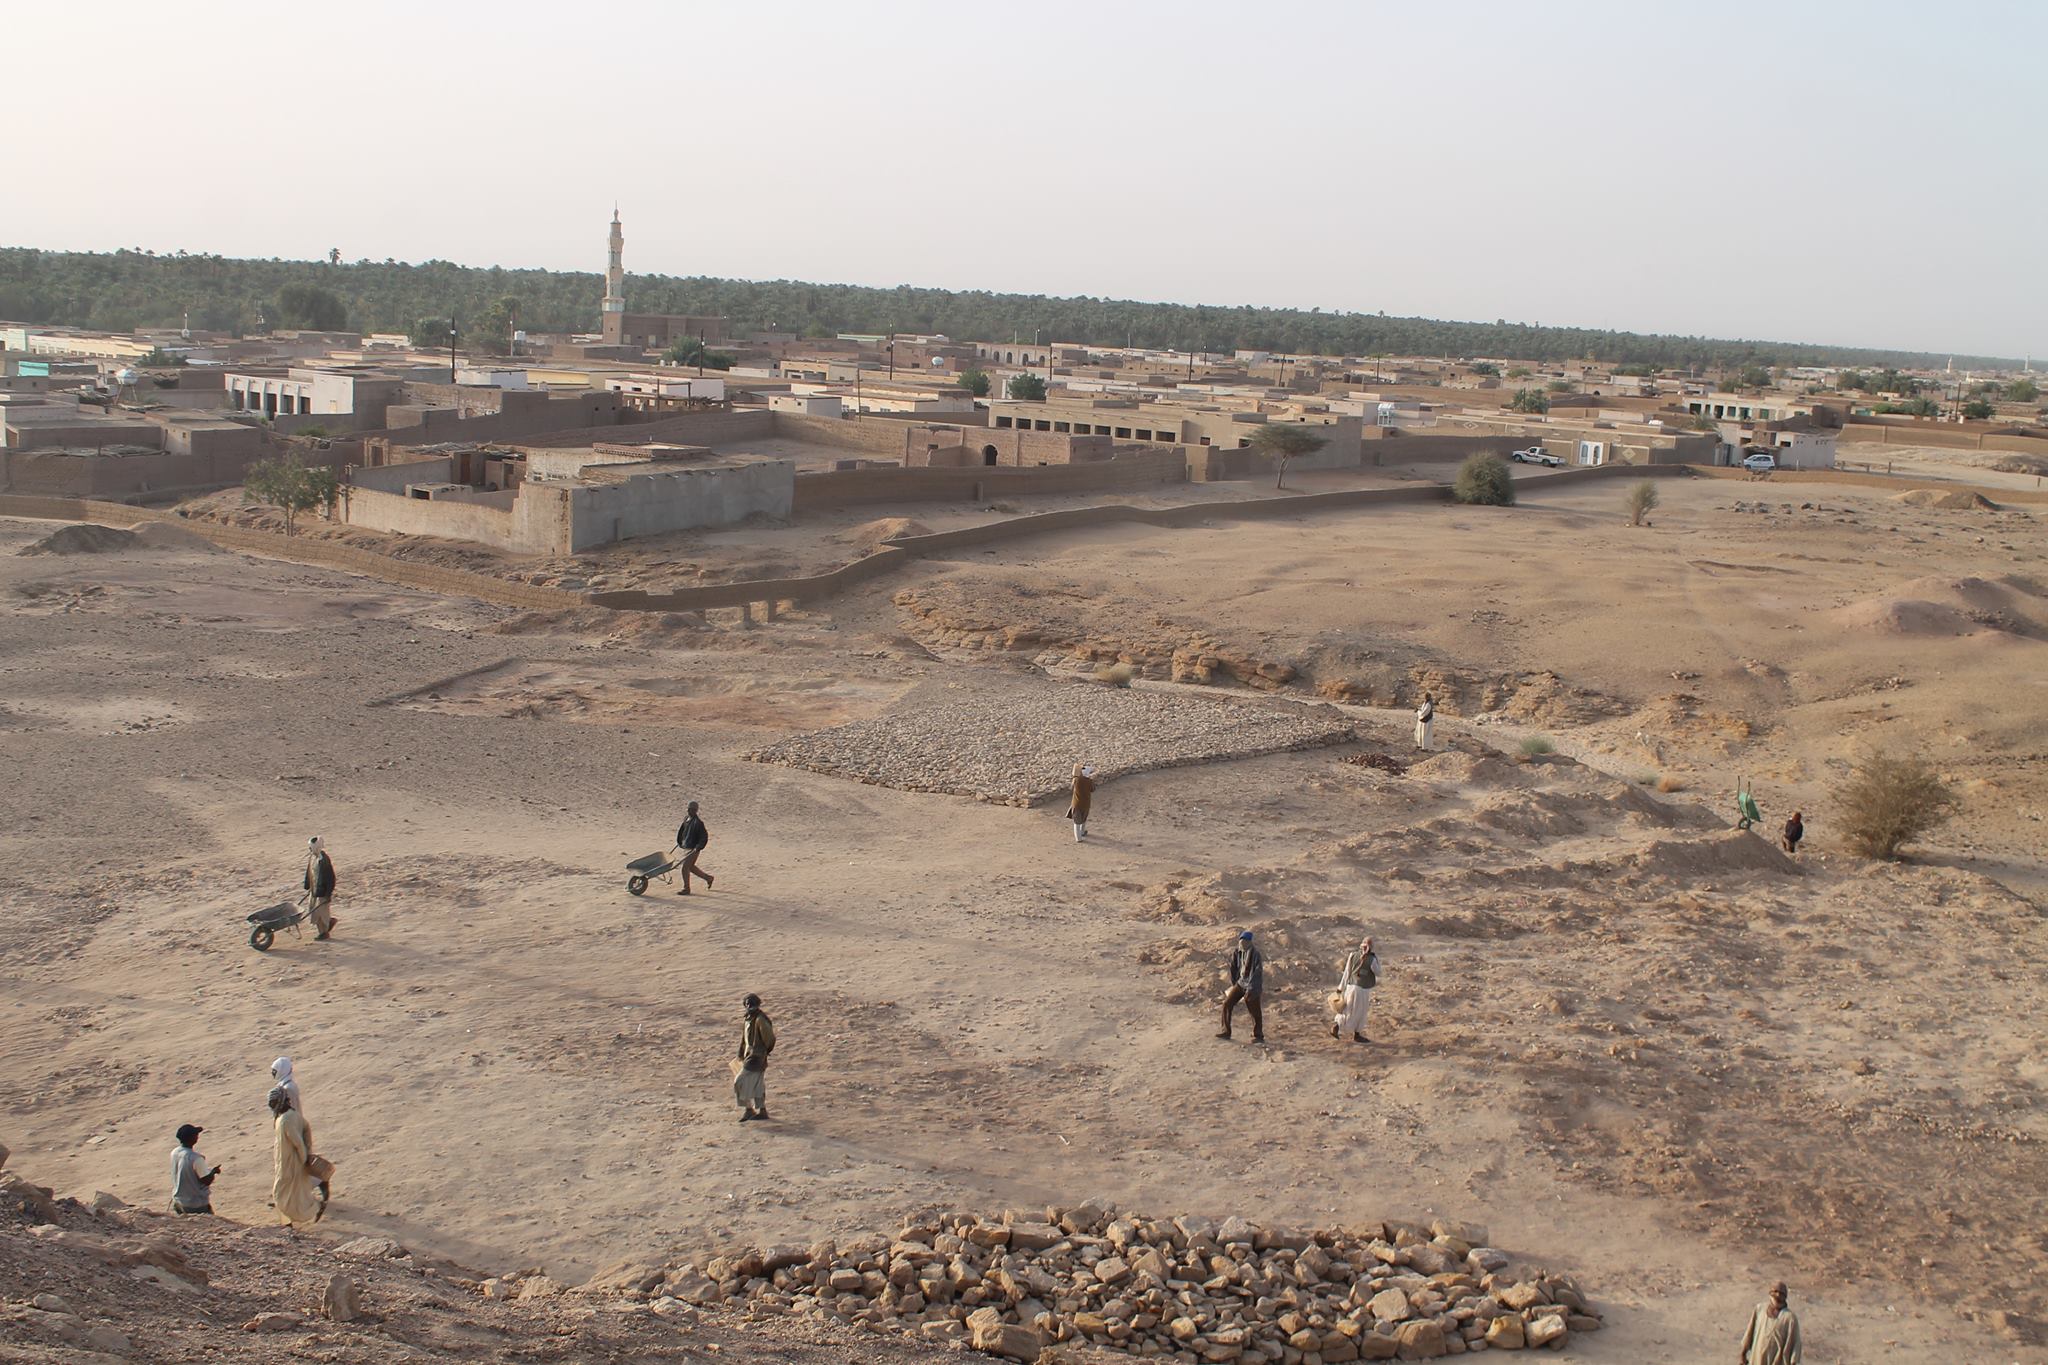
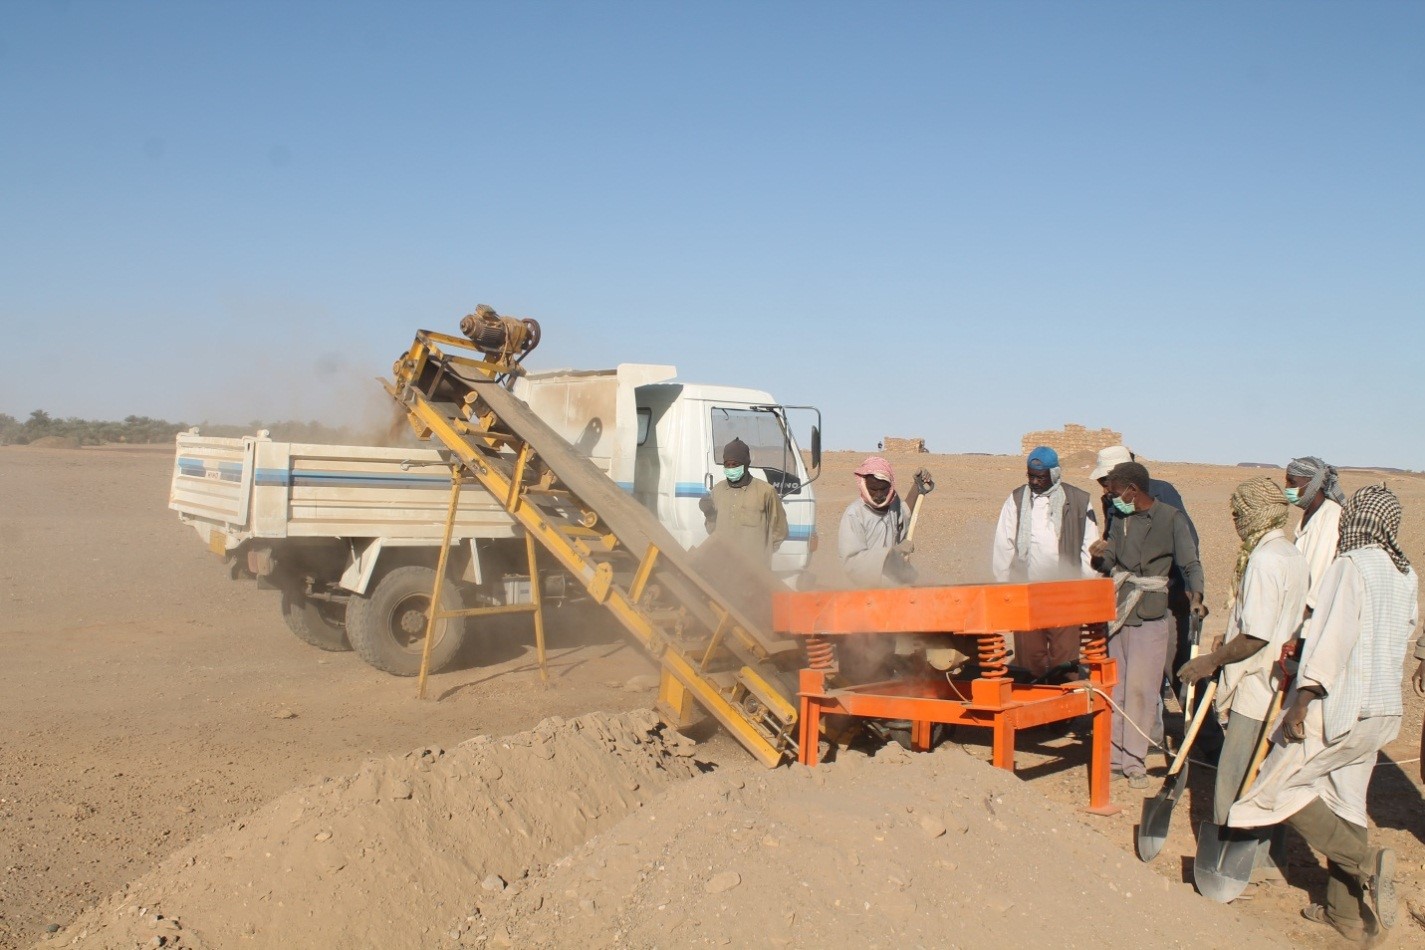
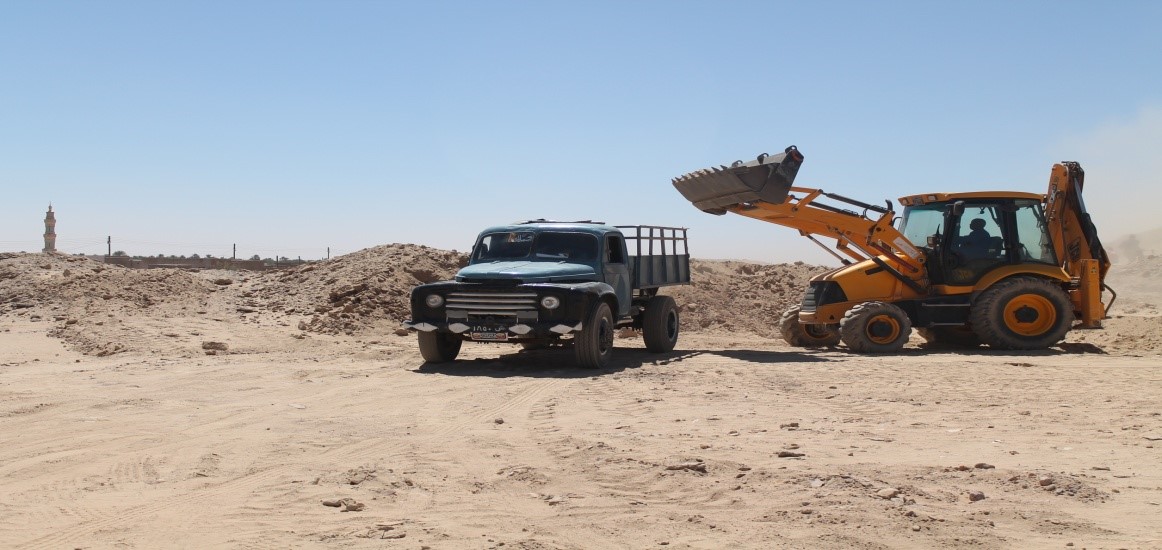
soil removal
Fig. 1-b
Fig. 12
potsherds
after
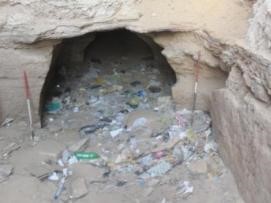
before
Fig. 4
Fig. 5
Fig. 13
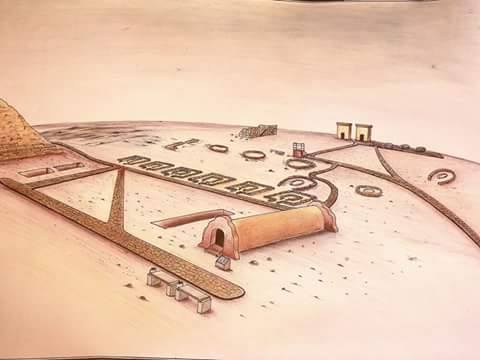
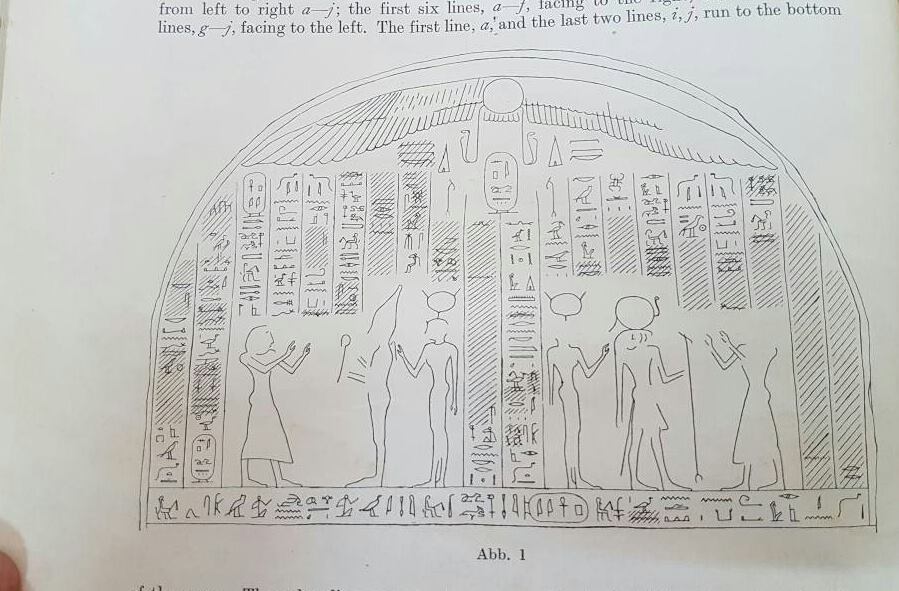
site illustration
Fig. 7
after
Fig. 3
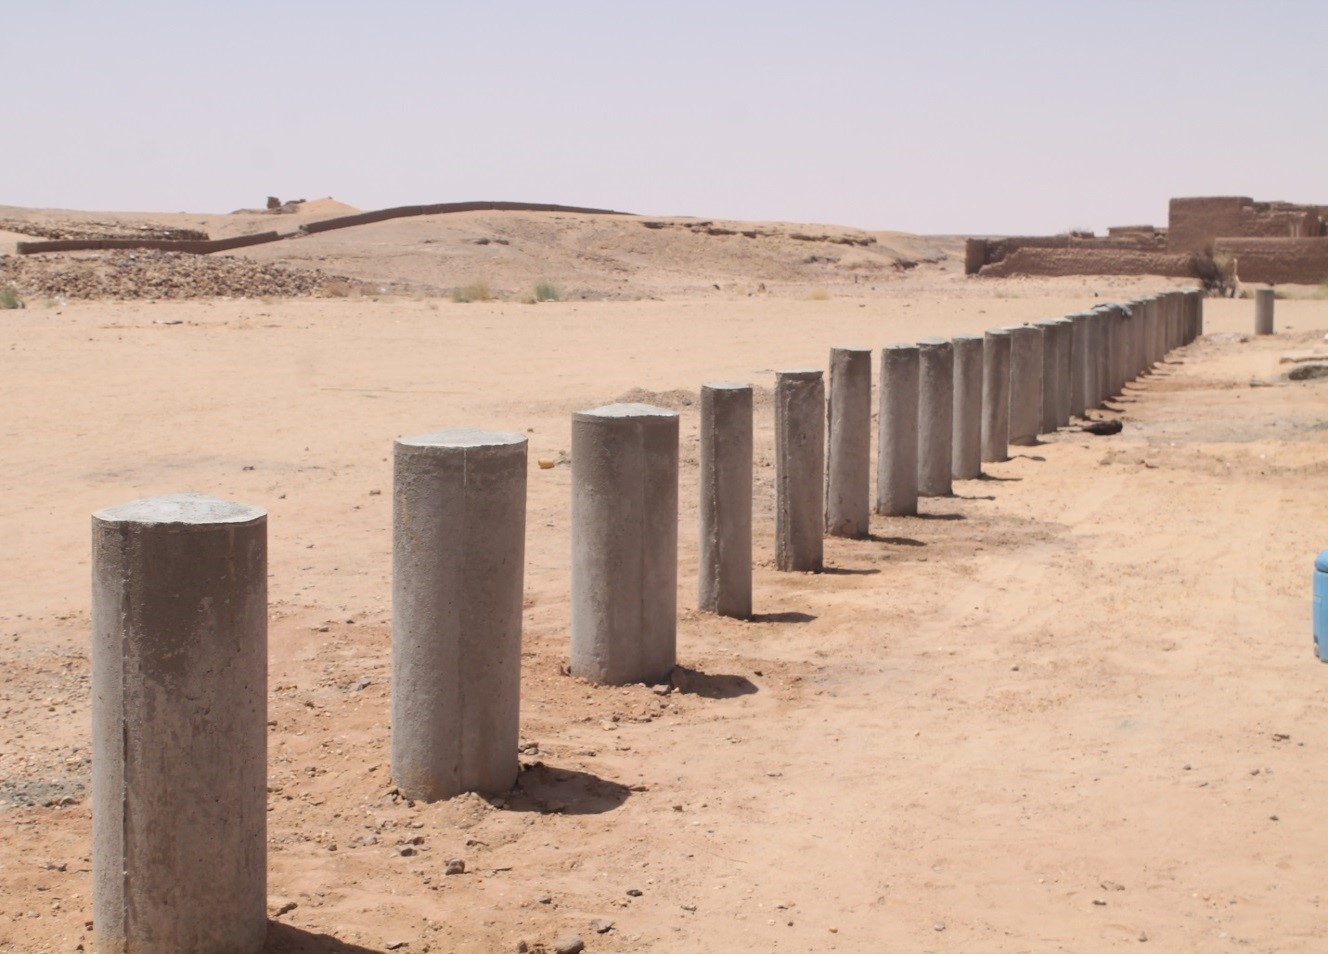
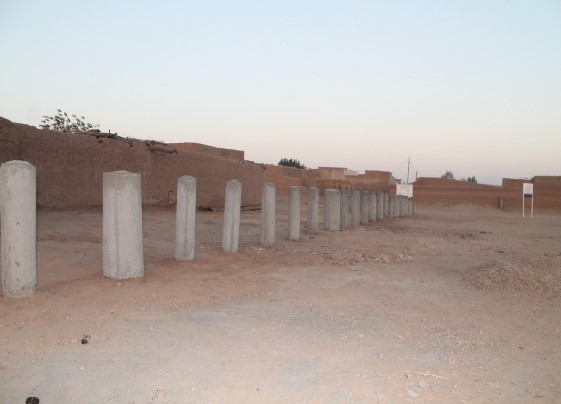
barrier
solar system
Fig. 4
map
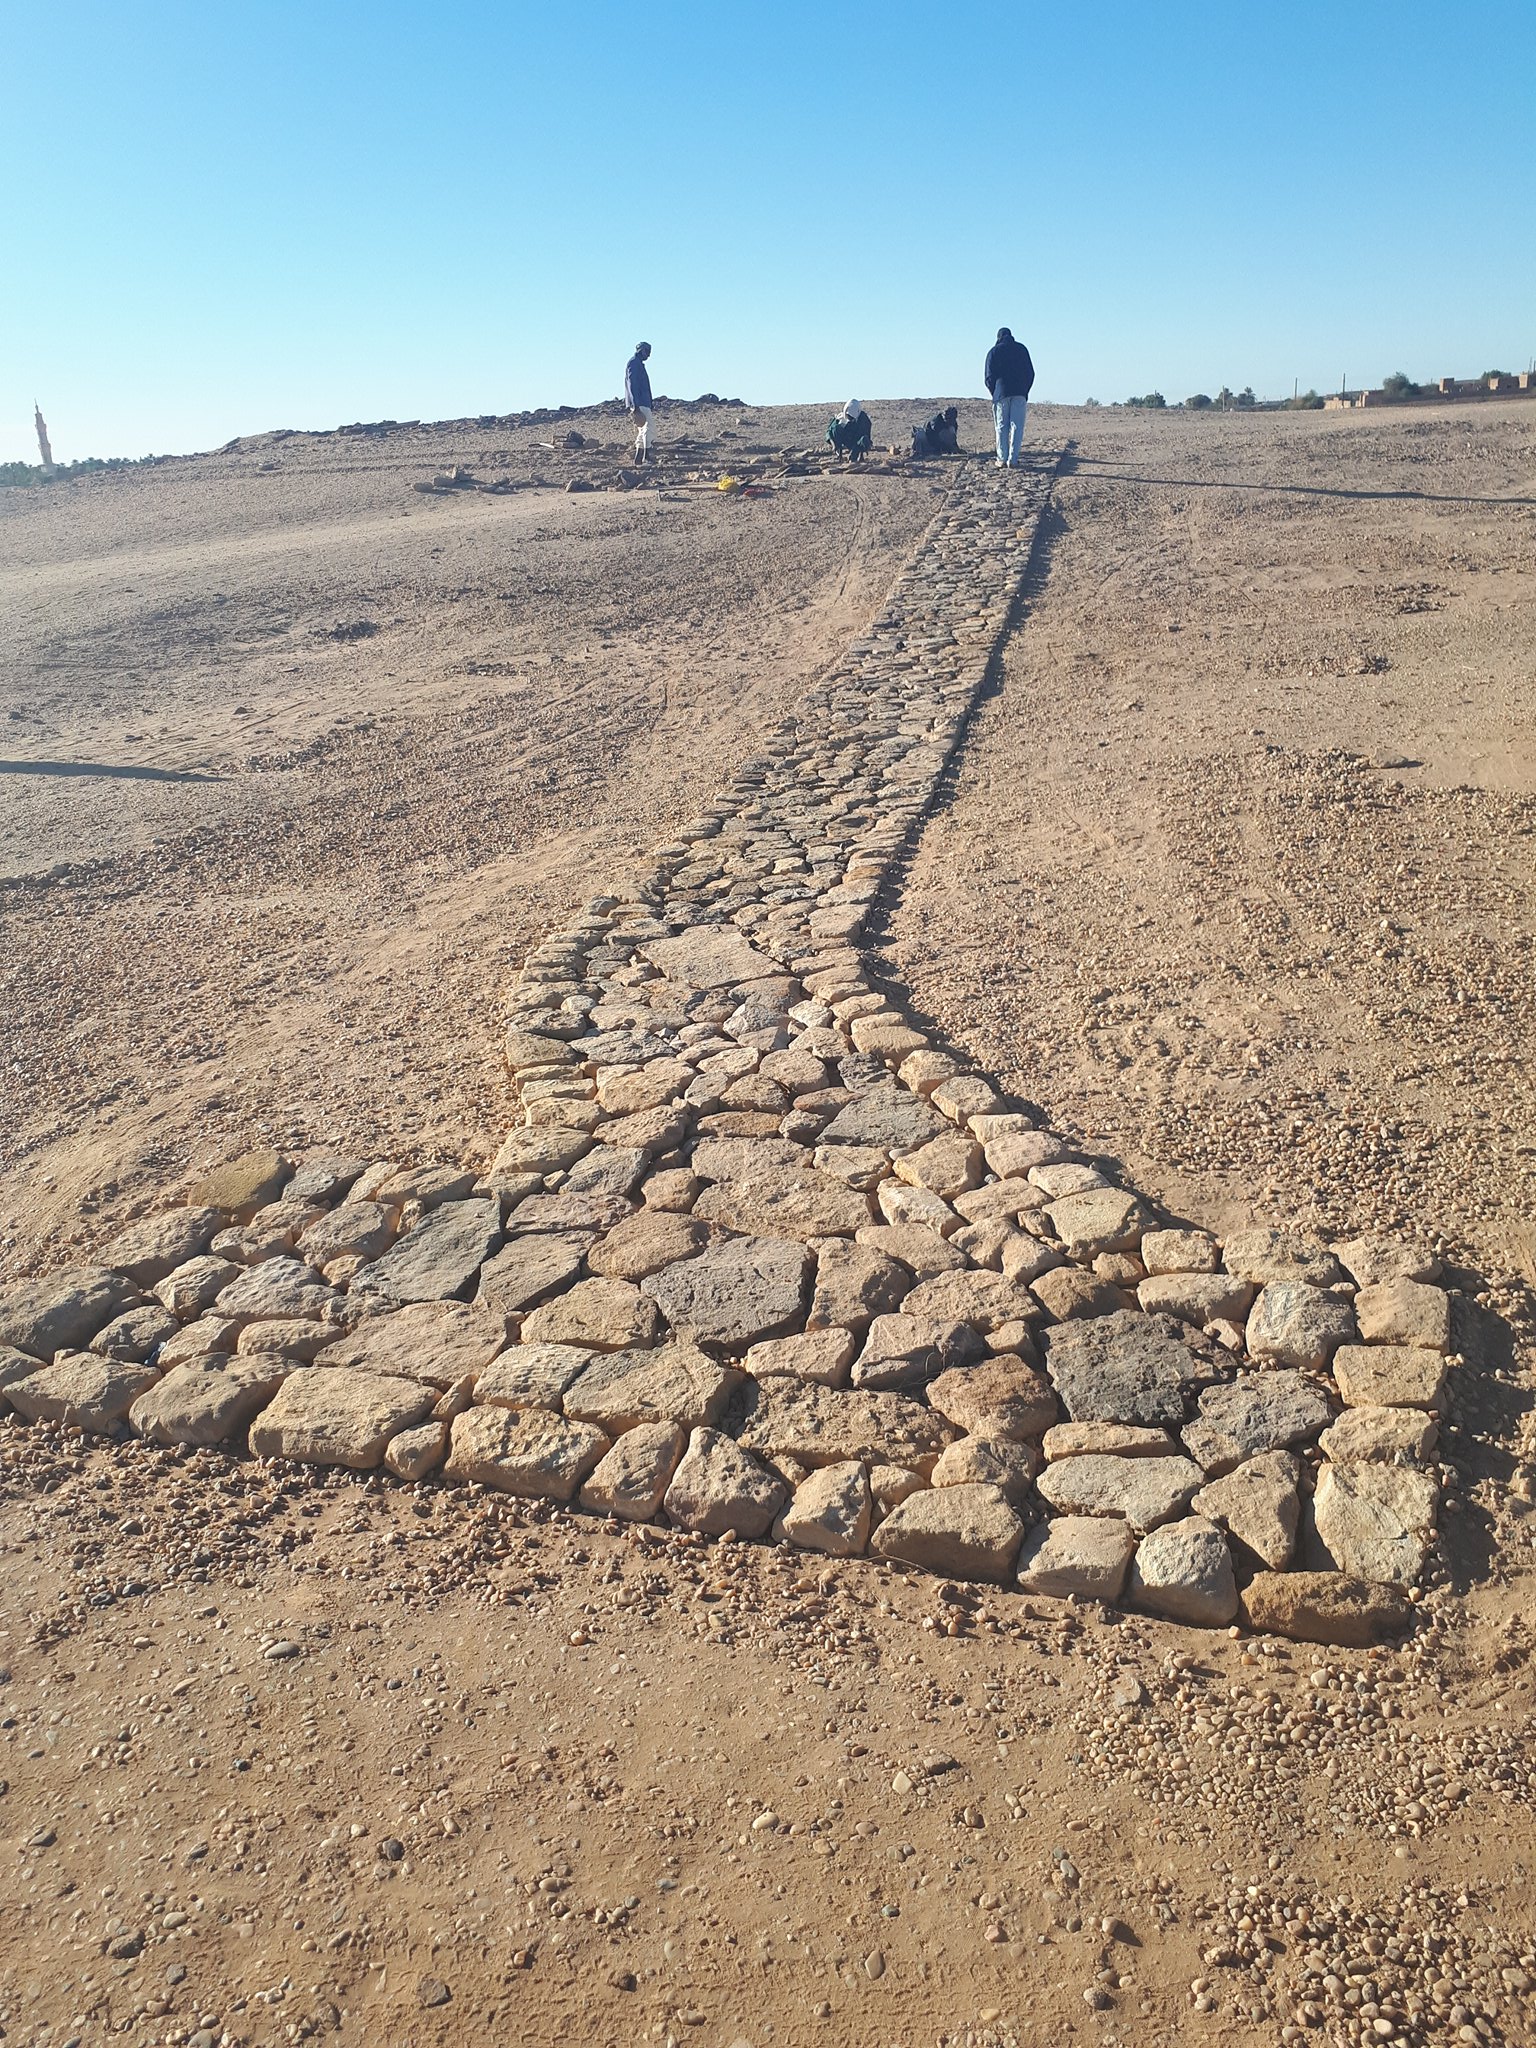
pass way
pass way
Fig. 8
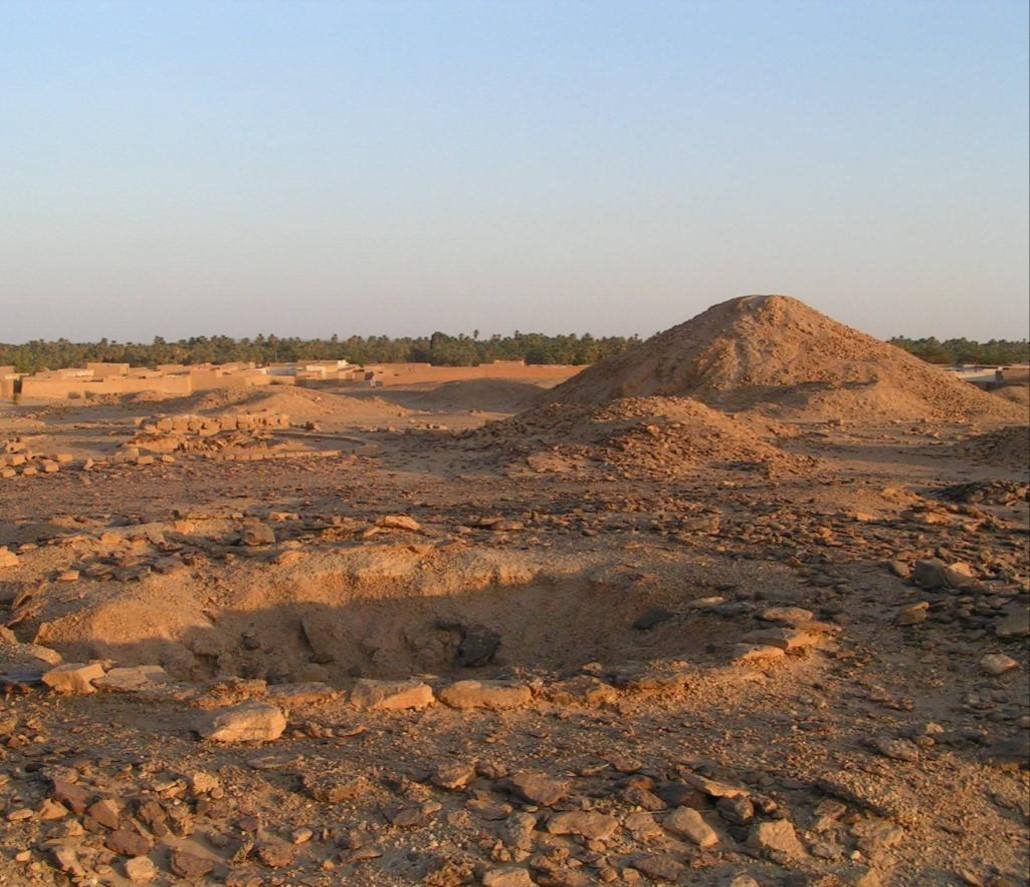
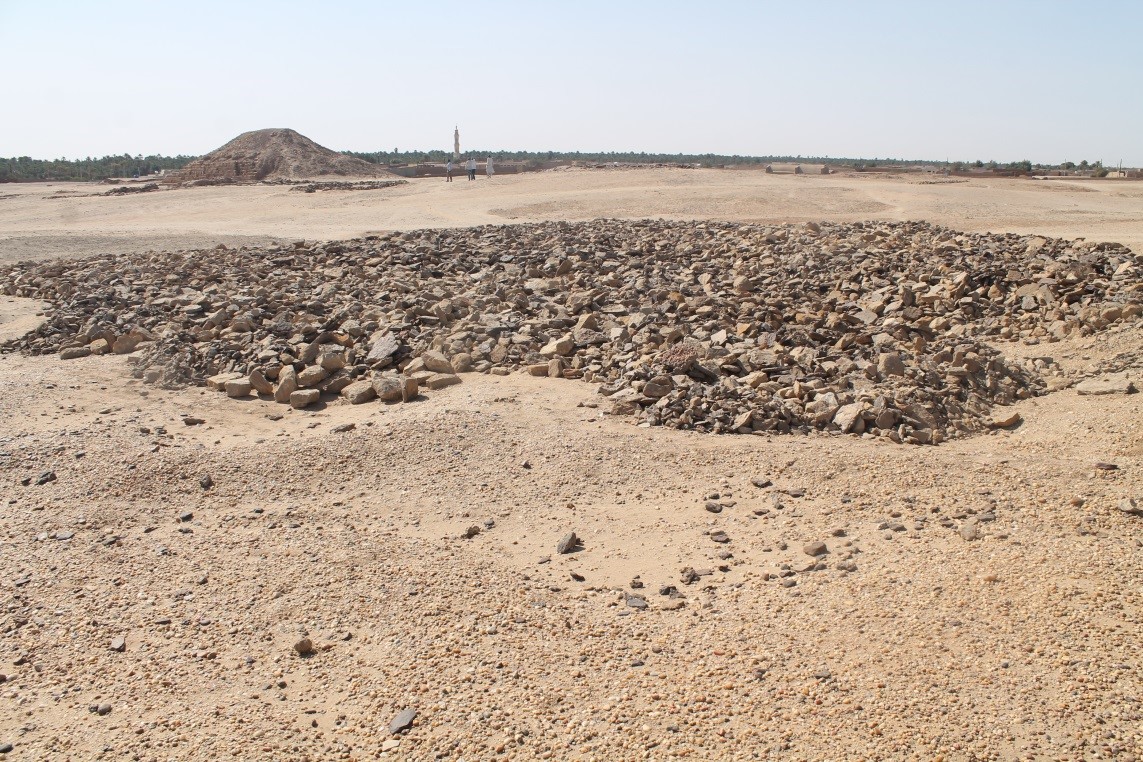
pyramid base
before
potsherds
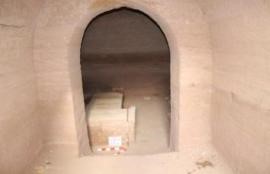
gate
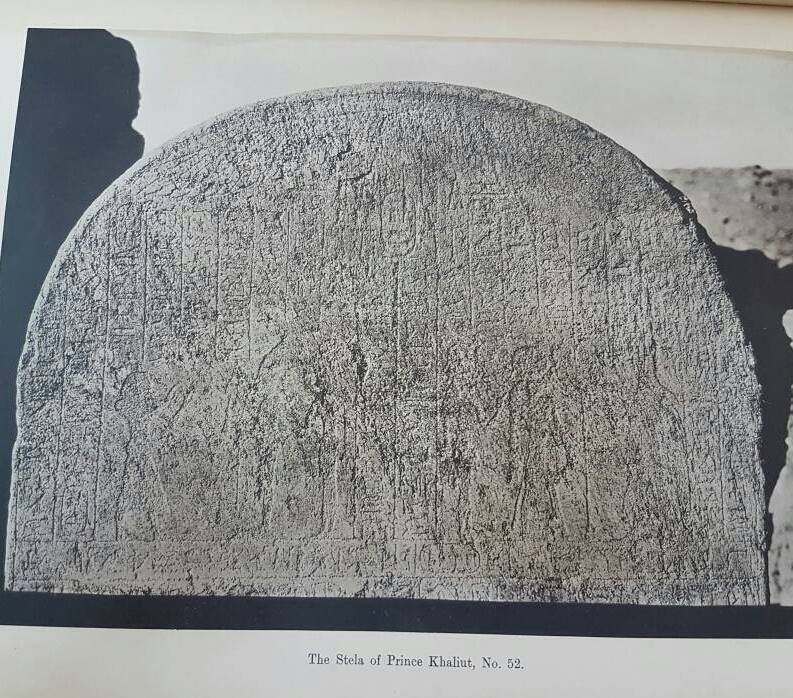
Fig. 2
potsherds
Fig. 6